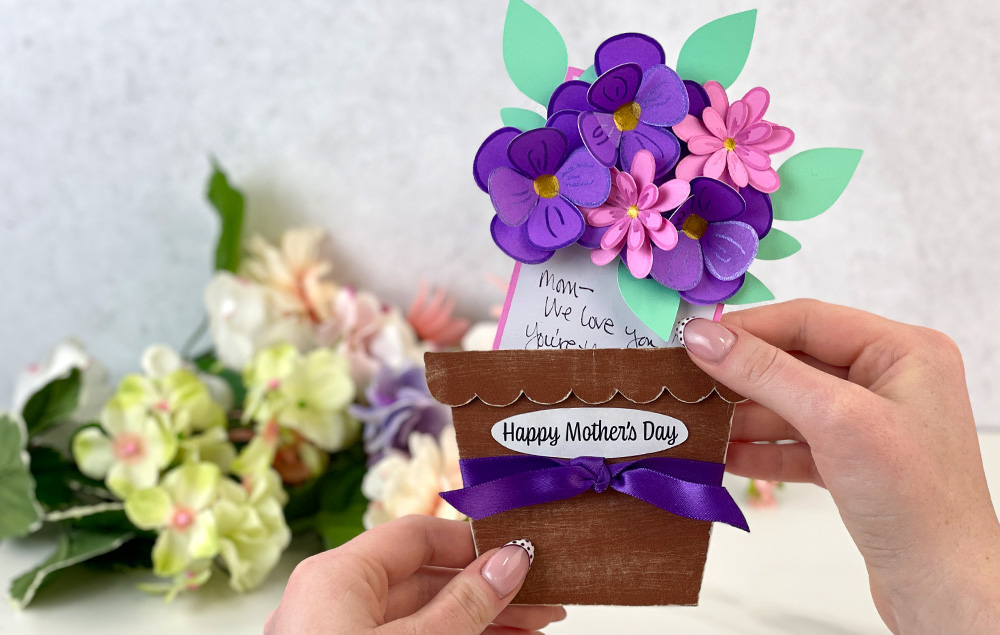
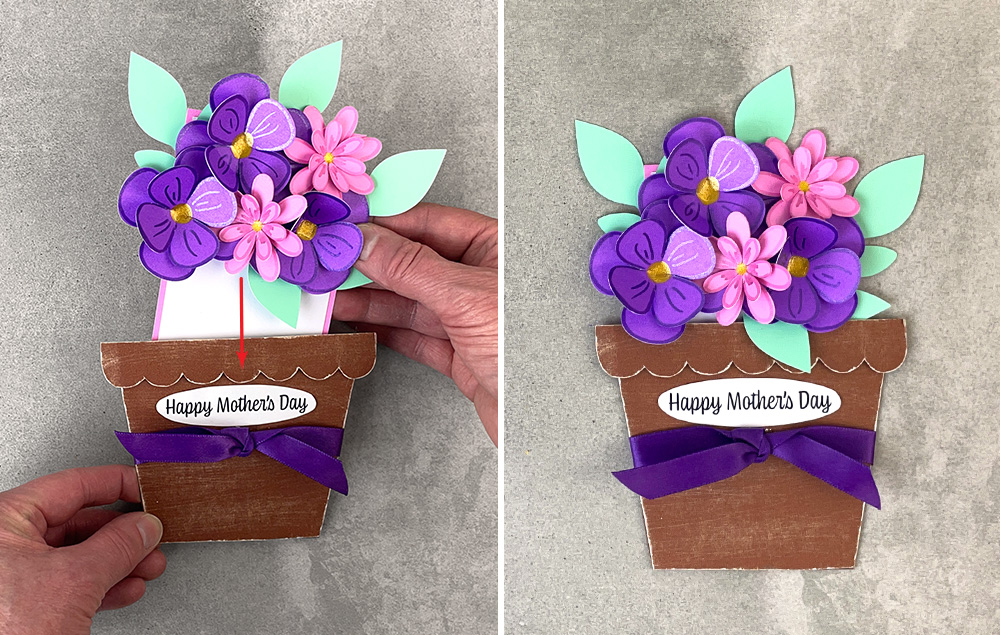
Create a dimensional flower bouquet card that tucks into an adorable flower pot holder for a heartfelt Mother’s Day surprise. Layer colorful blooms, add sparkling details, and finish with a sweet message to make a handmade gift Mom will treasure.
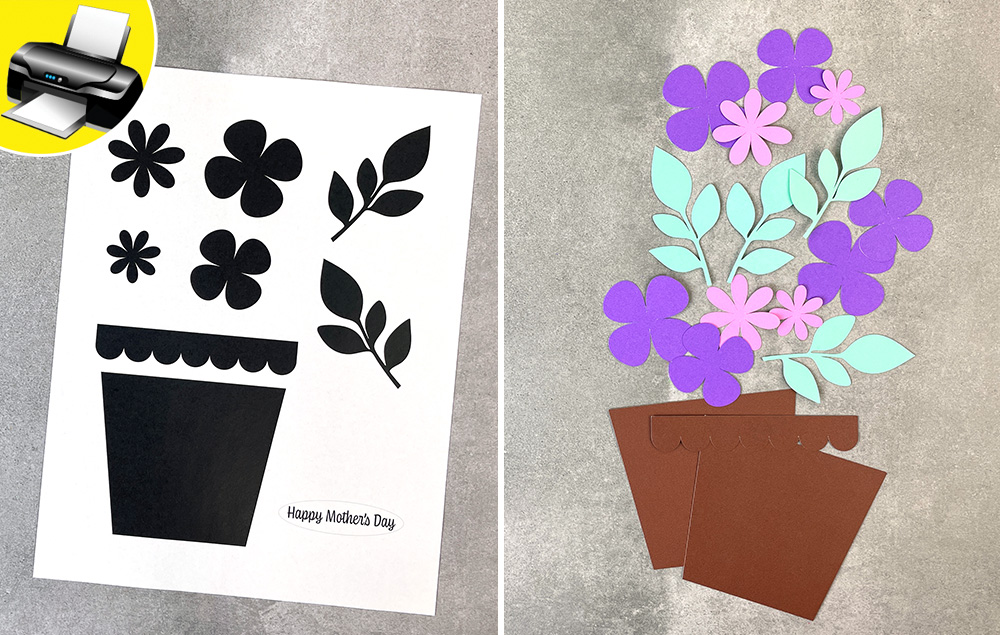
A) Use the template provided to cut out the flower and leaf shapes. Note: An .svg file is provided for use with a cutting machine.
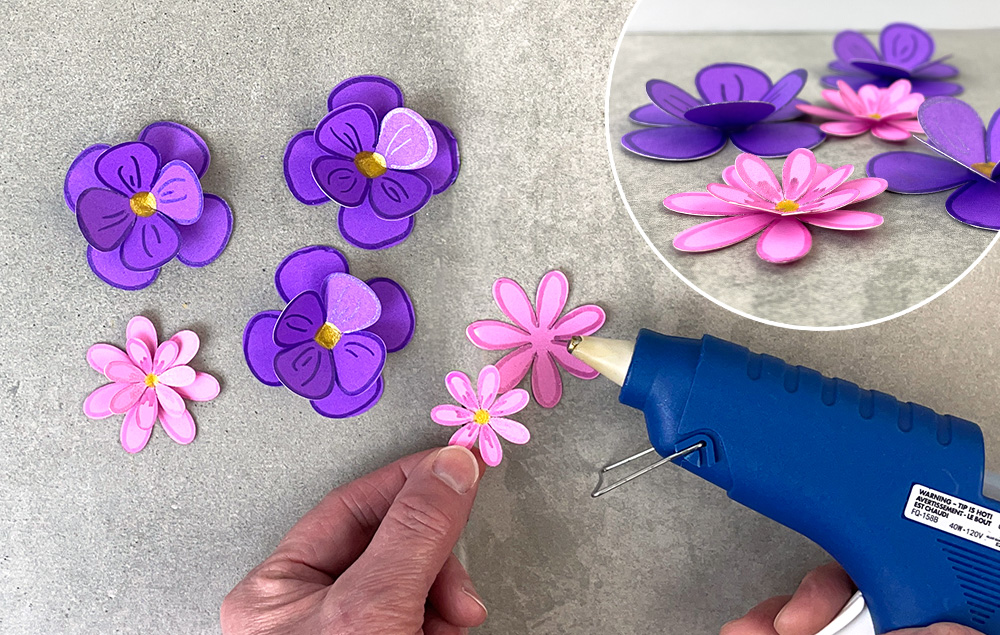
B) Cut the flowers in assorted colors.
STEP 2:
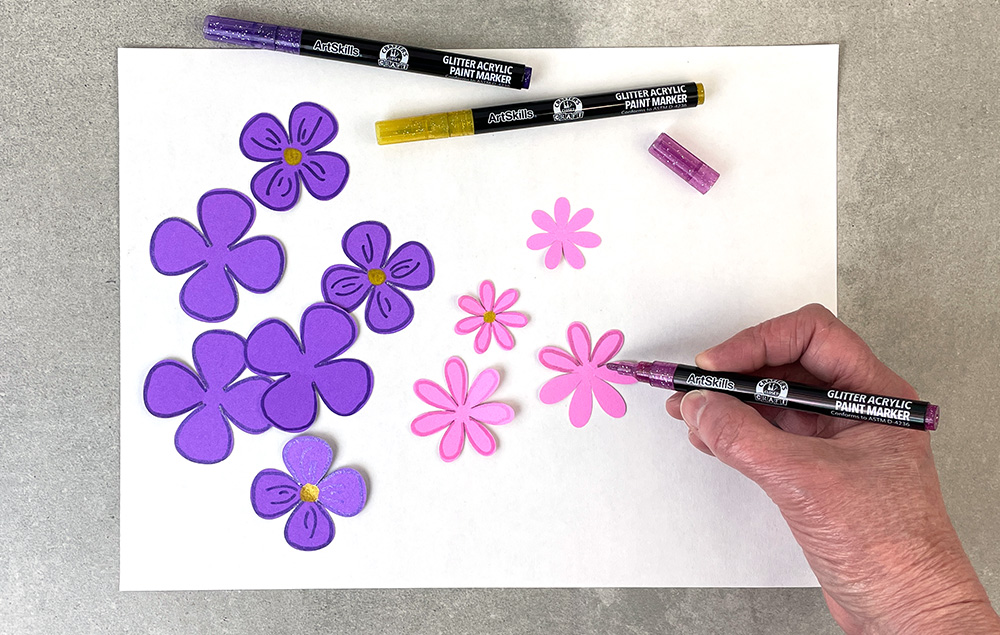
A) Add glitter marker highlights to the flowers.
STEP 3:
A) Glue the flower pieces together to create dimensional flowers.
STEP 4:
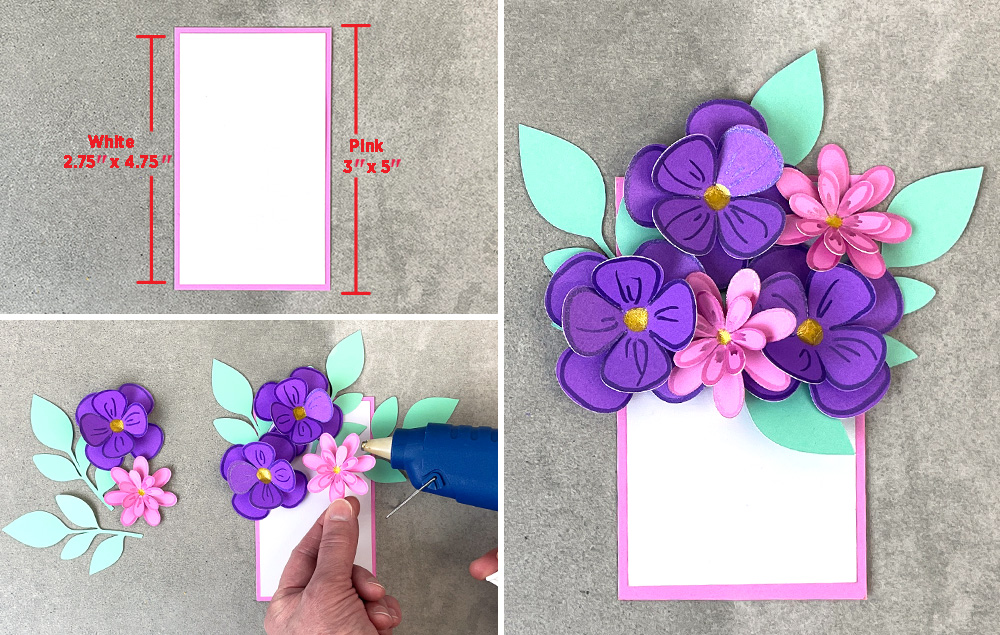
A) Create the card insert. Cut the back piece to 3" x 5" and the white front piece to 2.75" x 4.75". Adhere the white piece to the center of the colored back piece.
B) Glue the flowers and leaves onto the top third of the card to create an arrangement.
C) Your card insert is complete!
STEP 5:
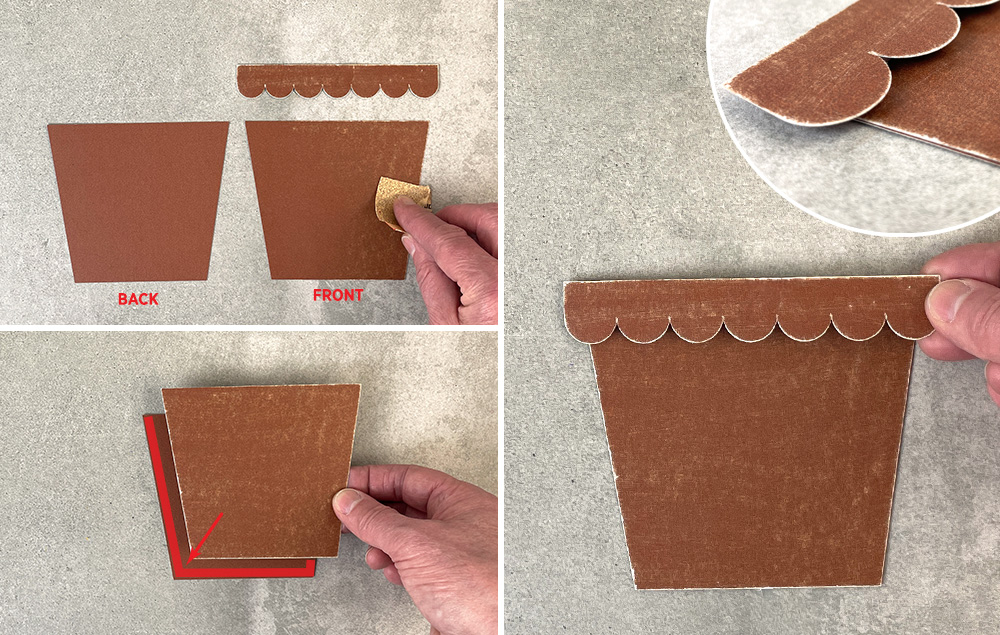
A) Cut out the pot pieces. You will need two bottom pieces and one scalloped edge. For a textured look, distress one bottom piece and the scalloped edge using sandpaper.
B) Assemble the pot: Apply glue along the sides and bottom edges only, then let dry.
C) Use foam mounting tape to add dimension when adhering the scalloped edge.
STEP 6:
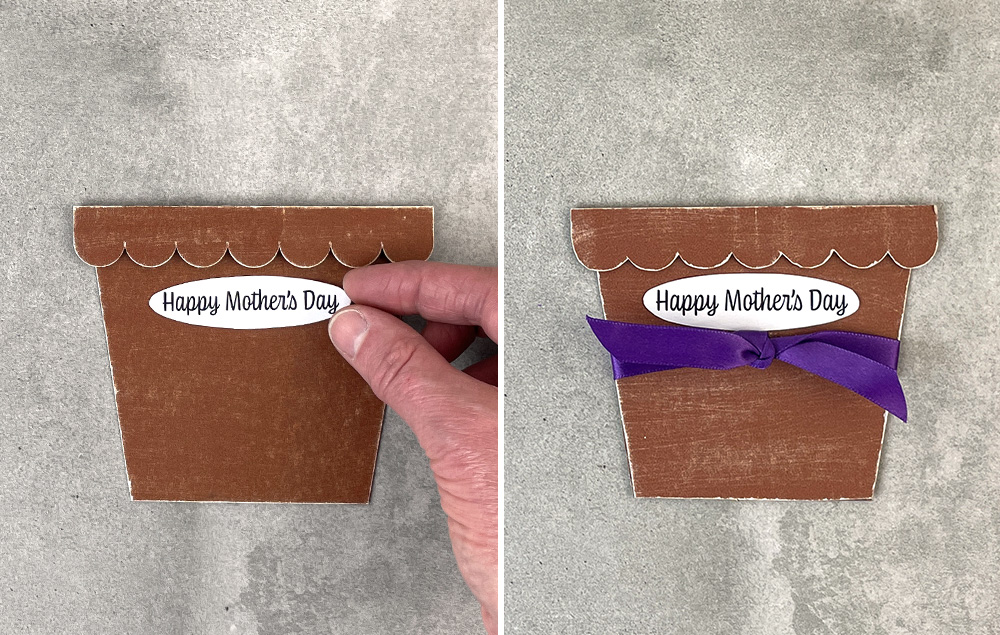
A) Cut out the “Happy Mother’s Day” label and adhere it to the pot.
B) Tie ribbon around the pot.
STEP 7:
A) Add a personal message, then insert the card into the slot in the pot.
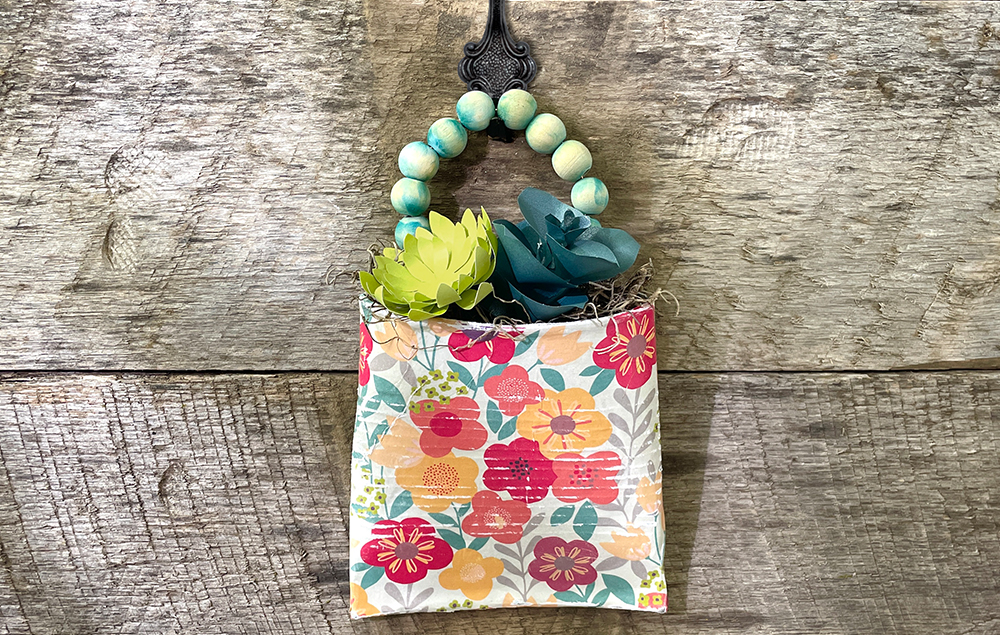
Transform an ordinary tin can into a stylish pocket planter. Hang this recycled creation on your wall for a charming and eco-friendly addition to your home decor...
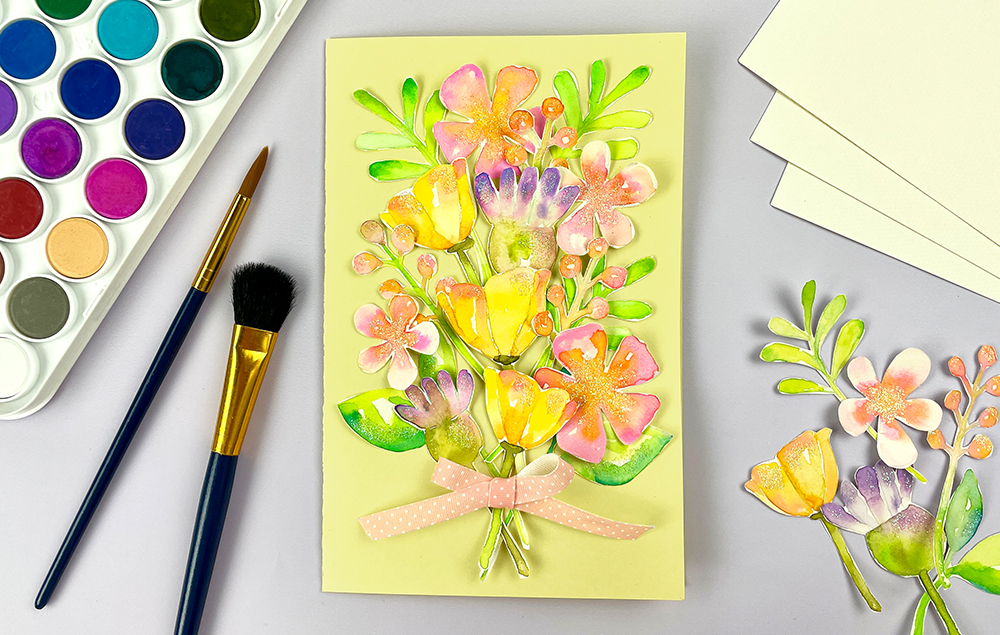
Create a one-of-a-kind card for Mom this Mother’s Day! Use colorful supplies to bring paper flowers to life, then add them to the card to make a pretty bouquet...
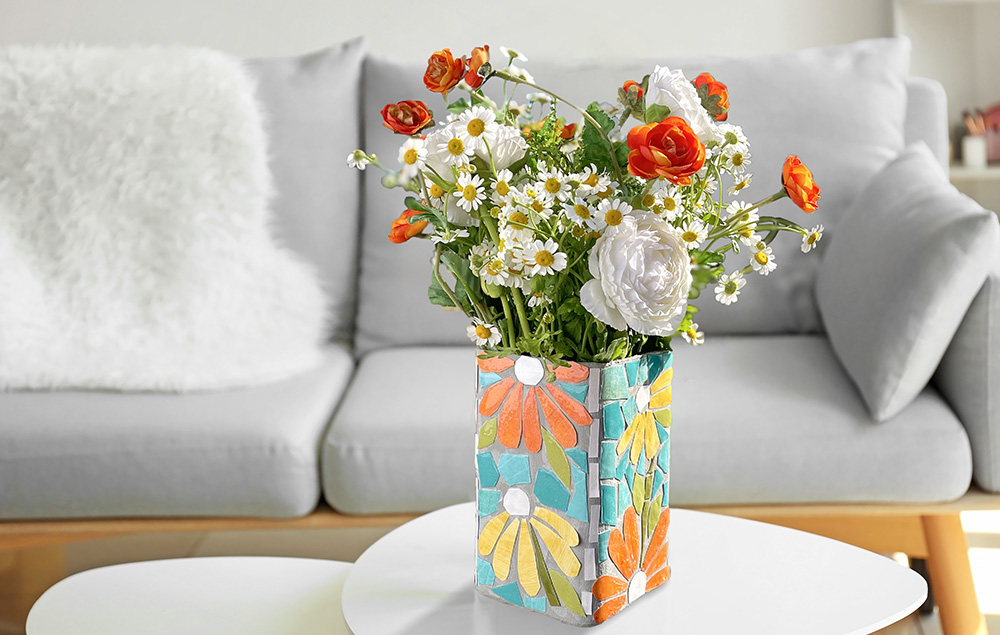
This craft transforms a simple glass vase into a stunning faux ceramic mosaic piece using paper “tiles” arranged over a textured, cement-like base. Perfect for summer, this vase makes a charming centerpiece for outdoor gatherings, patio decor, or brightening up a sunroom with a handcrafted touch...


