Craft Stick Ornaments
October 26, 2022

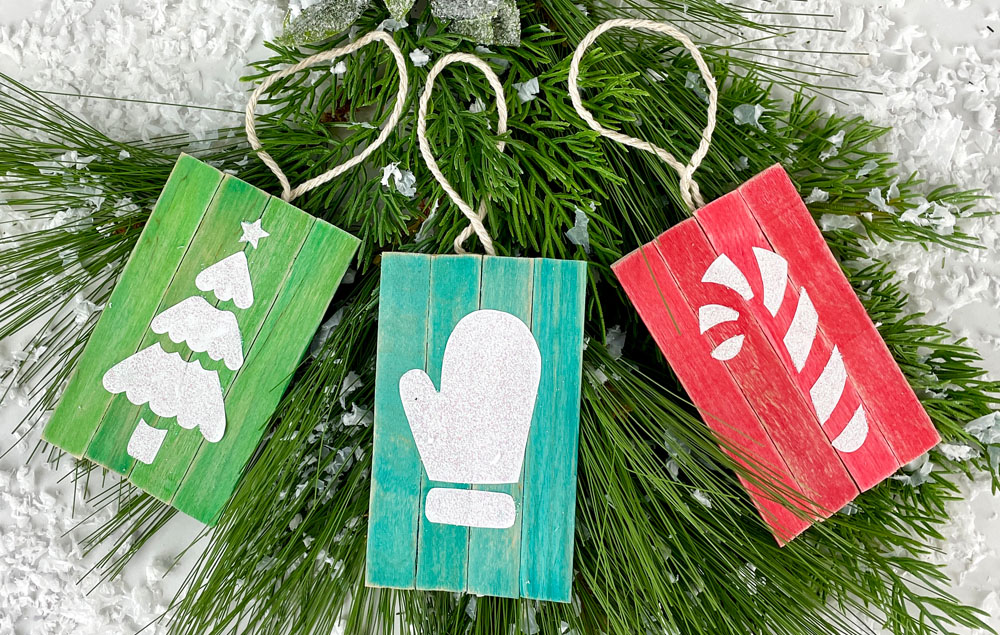
These craft stick ornaments are easy and fun to make! Colorful and whimsical, they are sure to brighten the holiday season with a touch of sparkle!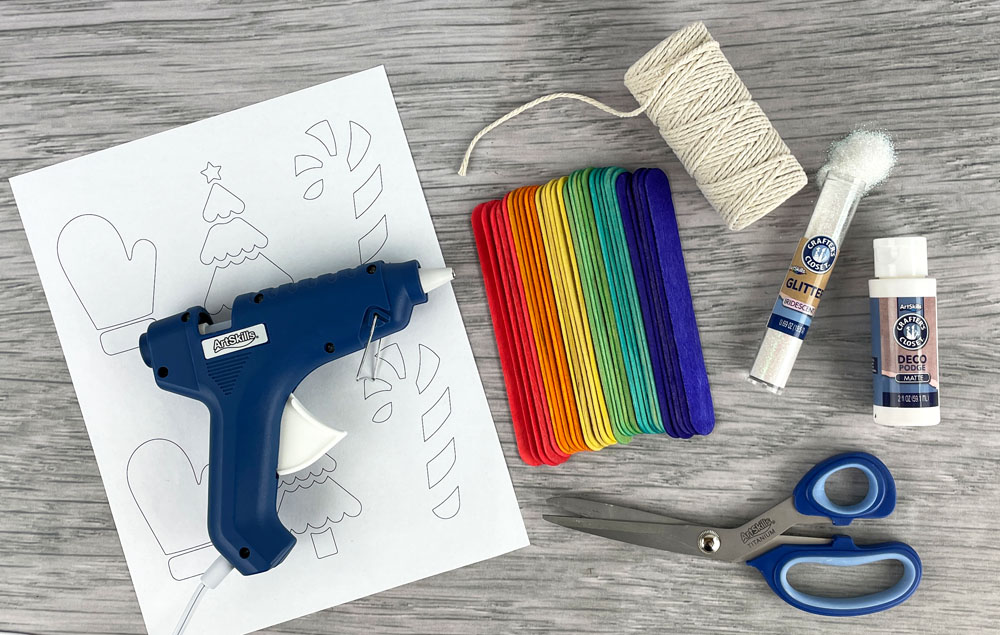

What You'll Need:
- Crafter’s Closet Jumbo Rainbow Craft Sticks
- Crafter’s Closet Deco Podge Matte
- Crafter’s Closet Hot Glue Sticks
- Craft Foam Balls, 9 Piece
- Mason Jar (1 Pint)
- Tea Light
- Gold Spray Paint
- Scissors
- Pencil
- Template
Let's Get Started
STEP 1:
A) Cut four craft sticks to the same length.
B) If you’d like, sand one side of each stick for a more rustic appearance.
C) Cut a stick in half, and then cut off the rounded end on each half.
D) Place the four sticks side by side, with the sanded sides face down. Hot glue the two shorter sticks to the back to hold the ornament together.
STEP 2:
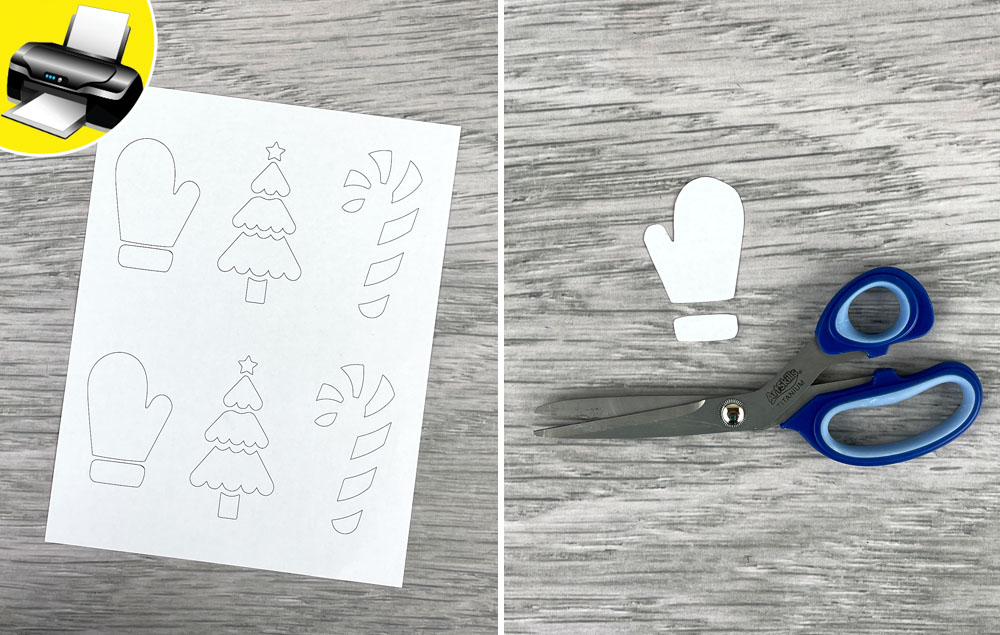
A) Print out the template.
B) Cut out a shape. Note: Each shape has multiple pieces, so be sure to cut them apart.
STEP 3:
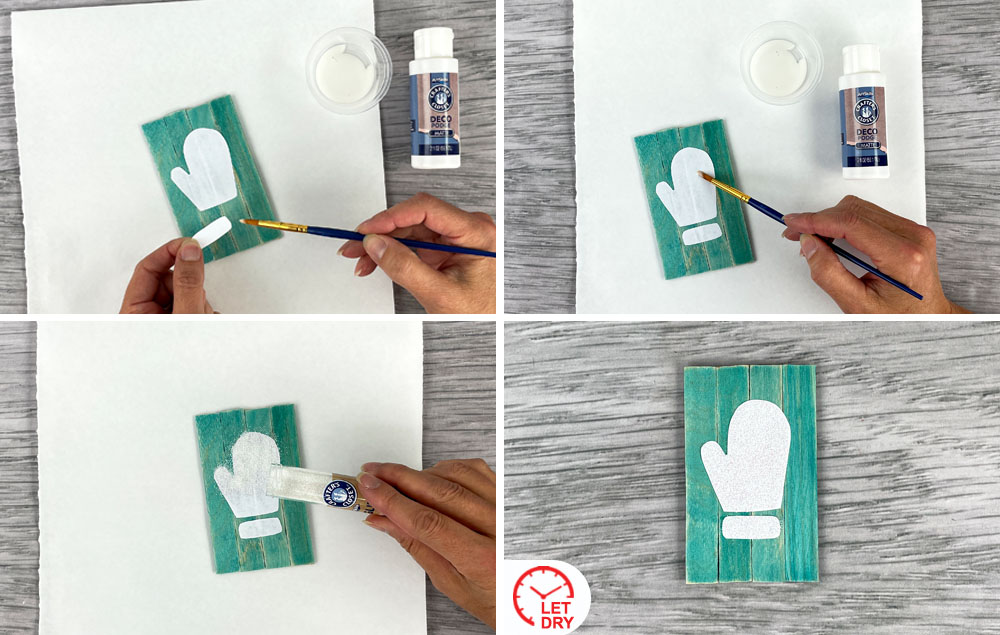
A) Use deco podge to adhere the paper pieces to the front of the ornament.
B) Brush deco podge on the front of each paper piece.
C) Sprinkle glitter on the wet deco podge. Tap off any excess.
D) Let the ornament dry.
STEP 4:
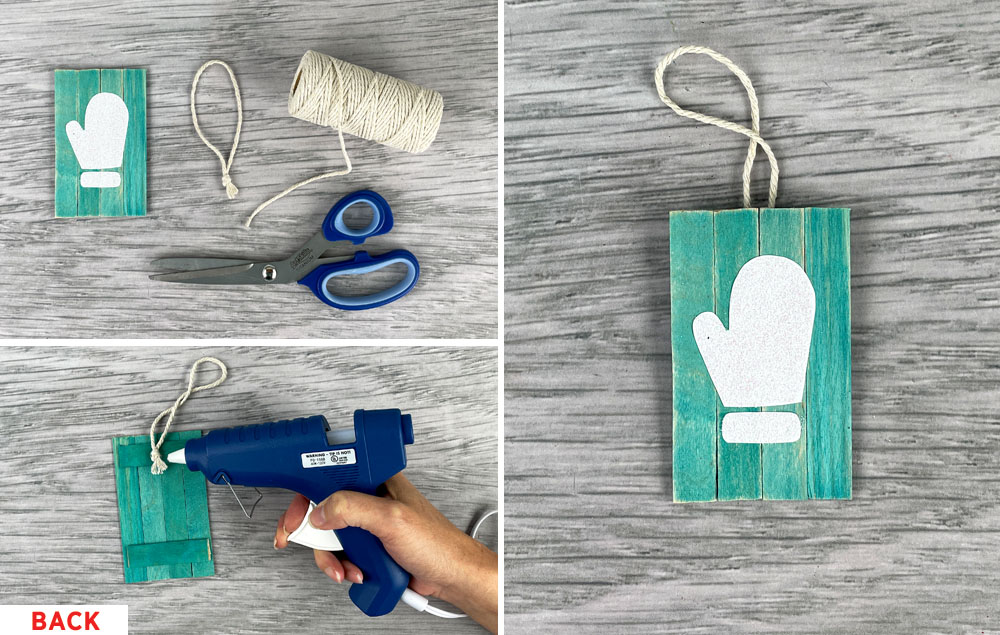
A) Cut a length of craft cord and knot it to make a hanger for the ornament.
B) Hot glue the craft cord hanger to the back of the ornament.
C) Let the glue cool, then hang and enjoy!
Related Posts
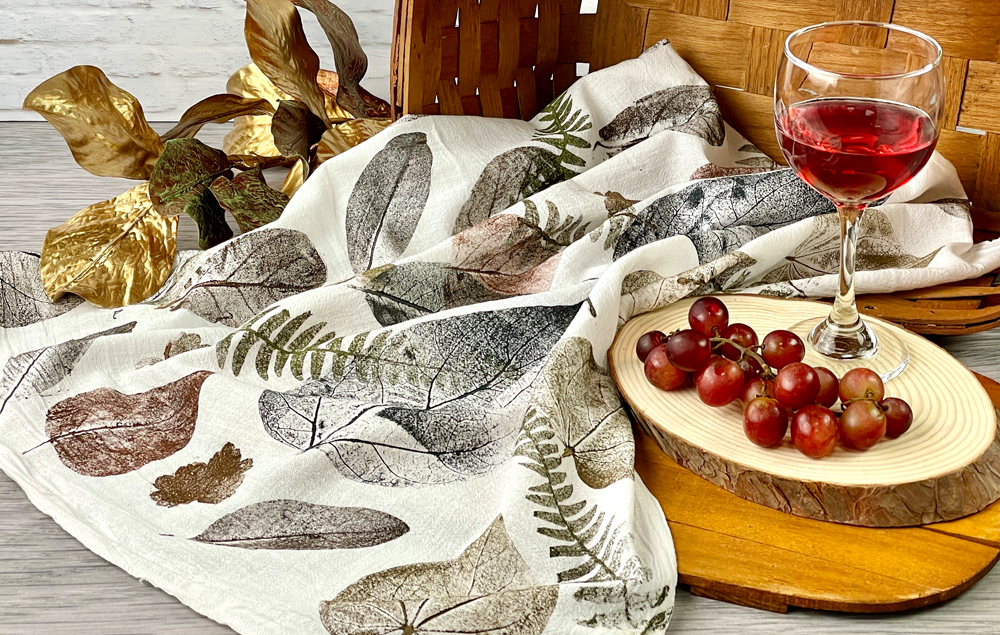
Use this simple printmaking technique to design a beautiful fall fabric! Customize the pattern with your choice of paint colors and leaf shapes...
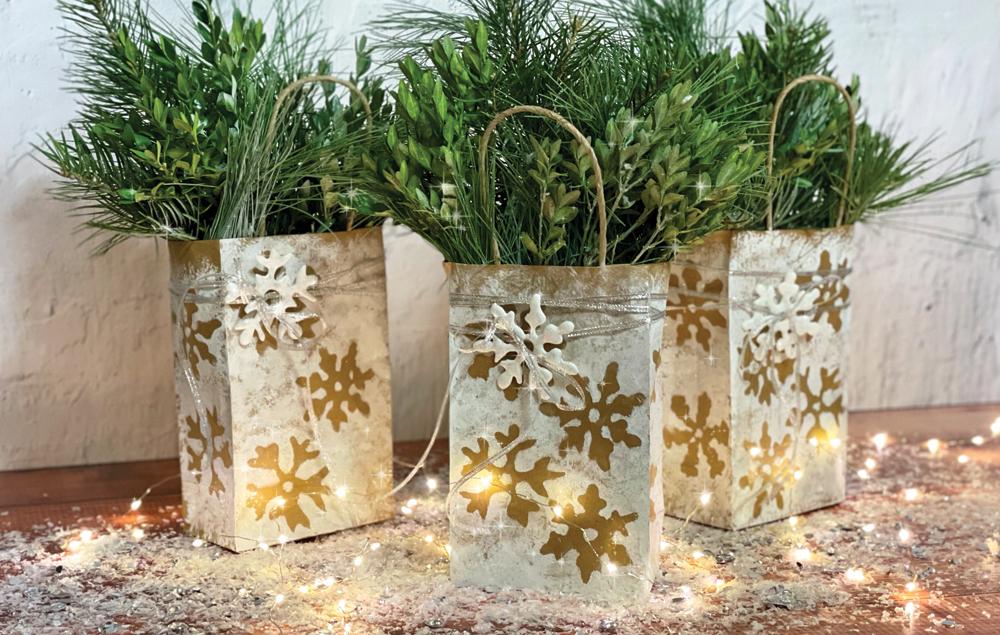
Kraft paper bags stenciled with snowflakes will create a beautiful holiday centerpiece! Brushed with silver glitter, these festive bags will sparkle when placed among candles. Fill with greens and group several bags together for a gorgeous winter decoration...
Categories


