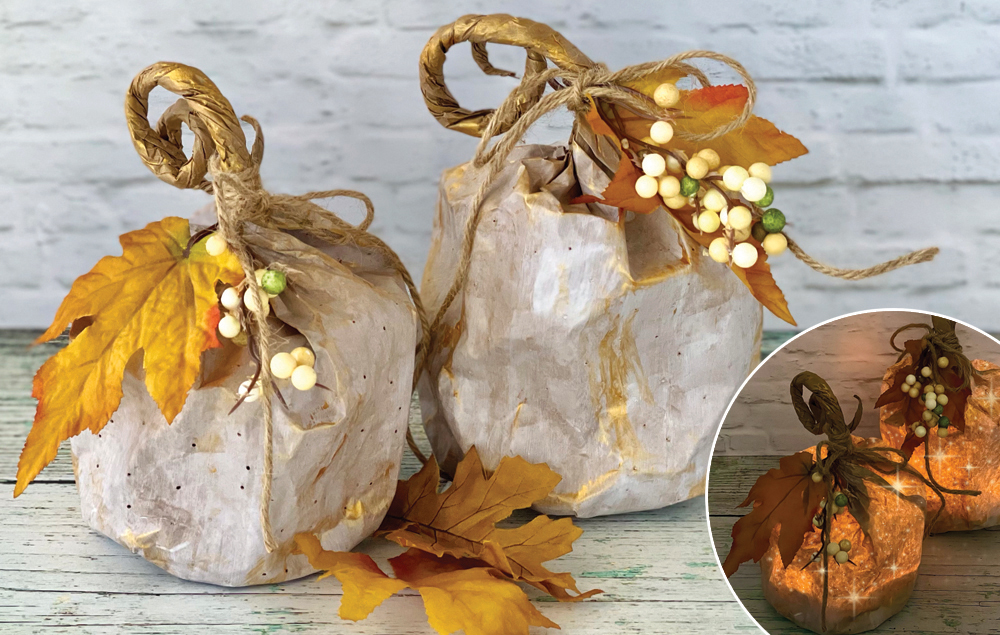
During the daytime, this gilded paper pumpkin makes a great autumn decoration — but at night, it takes on a whole new look! Flickering candles tucked inside turn this pretty pumpkin into a spooky luminary!
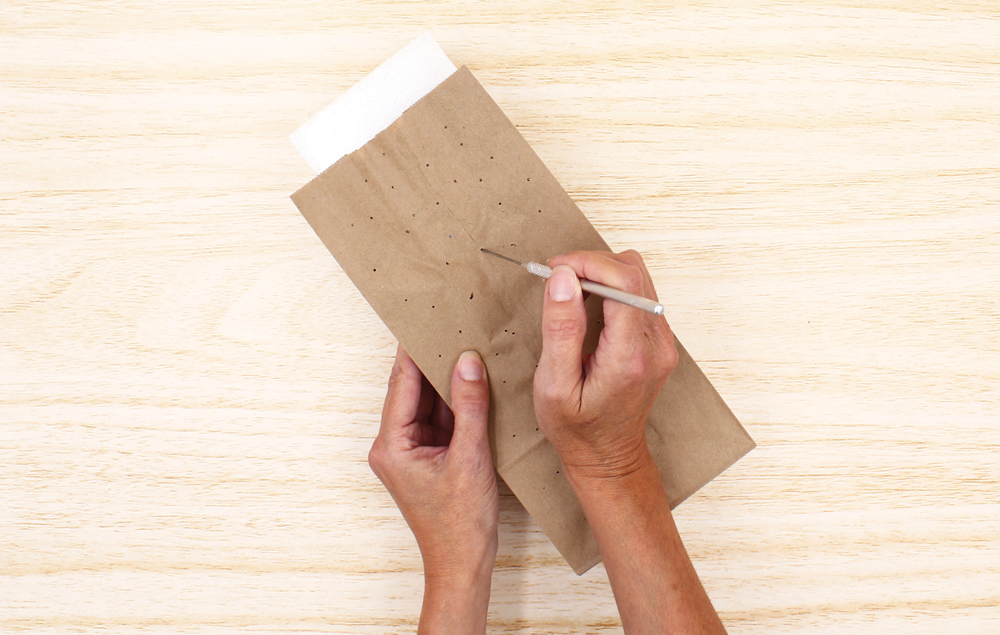
A) Lay a paper bag on top of the foam block. Randomly poke holes through the bag.
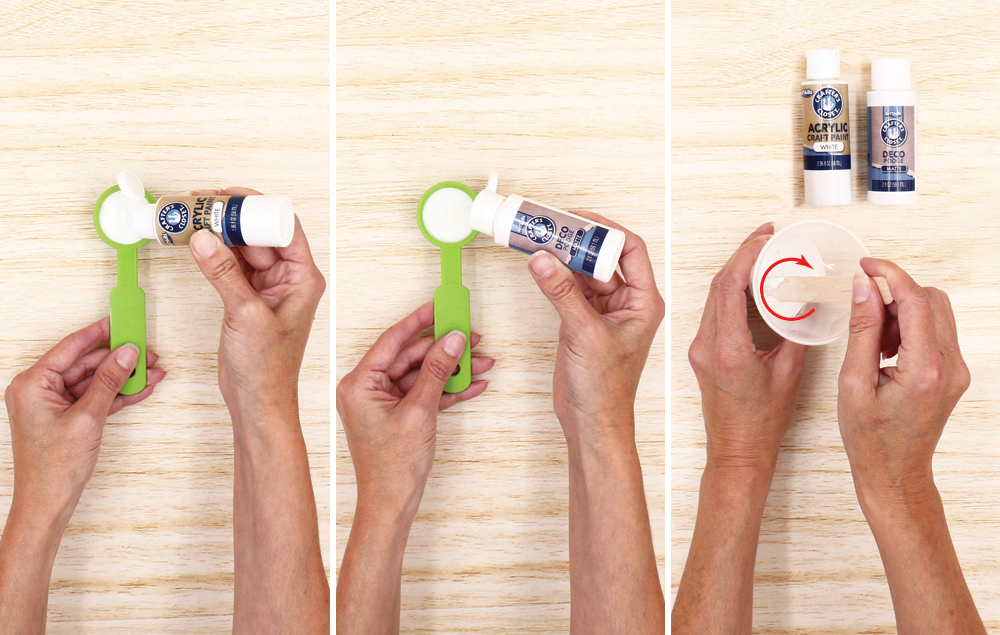
STEP 2:
A) Measure one tablespoon of white paint.
B) Measure two tablespoons of deco podge.
C) Mix the white paint and deco podge in a cup.
STEP 3:
A) Open the paper bag.
B) Insert the foam block into the paper bag to use as a support.
C) Cover your work area with paper. Brush the paint/deco podge mixture onto the paper bag. Note: You don’t have to paint the bottom or the top edge of the bag.
D) Continue painting the paper bag to cover all four sides. Let dry. Remove the foam block.
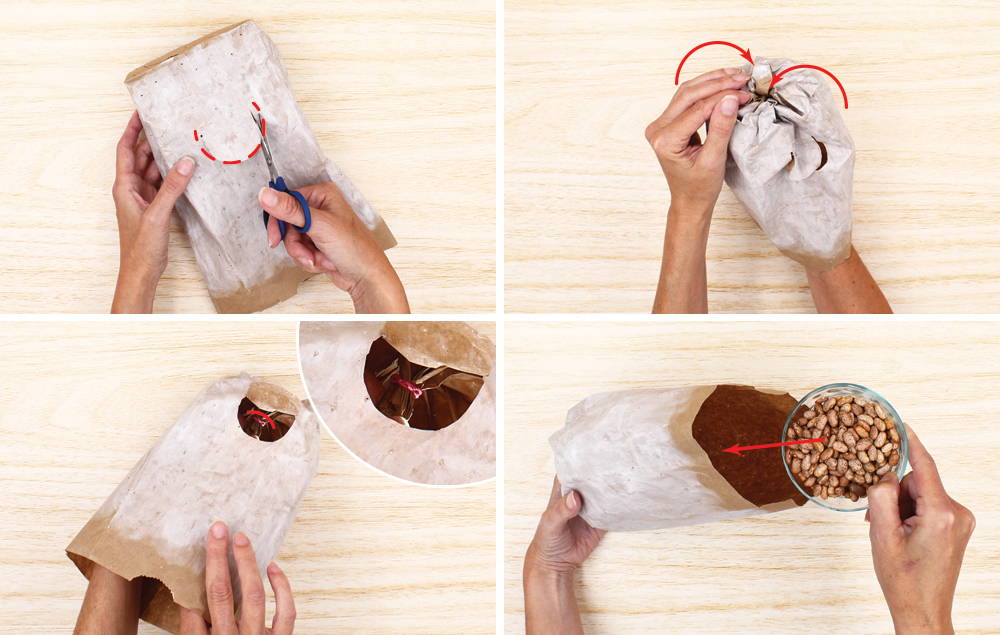
STEP 4:
A) Cut a half-circle flap on one side of the paper bag. Note: This will provide access to insert candles in a later step, so make sure you can fit a LED tea light candle through the opening.
B) Put one hand inside the paper bag until you can reach the bottom. Use your other hand to push in the bottom of the bag. Then use the hand inside the bag to grab the pushed-in paper. Pull and twist the paper tightly together inside the bag.
C) Wrap a rubber band around the pushed-in section inside the bag to secure it.
D) Pour some dried beans into the bottom of the bag. This will provide weight so the bag sits upright.
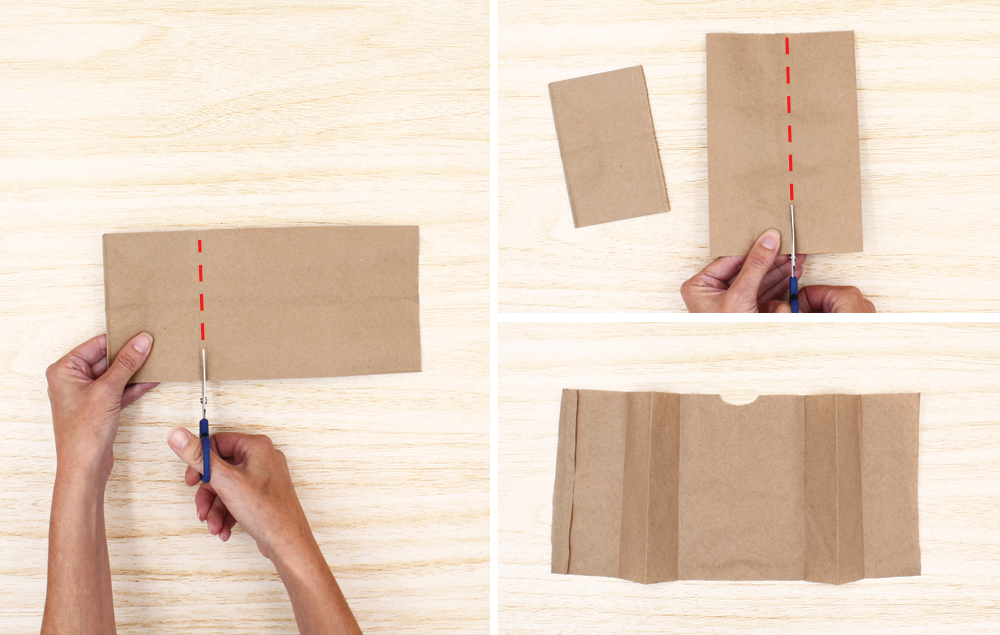
STEP 5:
A) Cut about 3" off the bottom of a second paper bag.
B) Cut open the rest of the bag. Note: Only cut through one side, not the entire bag.
C) Open the bag and lay it flat. Discard the bottom of the bag.
STEP 6:
A) Brush deco podge onto the opened paper bag to coat it.
B) Working quickly before the deco podge dries, start at a corner and roll the bag to make a tight tube shape.
C) Twist and curl the tube to make a pumpkin stem shape.
D) Create a more natural tapered look by making one end of the stem thicker than the other. Then you can insert the thicker end into the pumpkin in the next step.
STEP 7:
A) Pinch the top of the weighted pumpkin bag together.
B) Brush deco podge onto the wider end of the pumpkin stem.
C) Insert the pumpkin stem into the top of the pumpkin bag. Brush more deco podge around the stem area to secure it in place. Let dry.
D) Lightly brush gold paint on the pumpkin and stem. Let dry.
STEP 8:
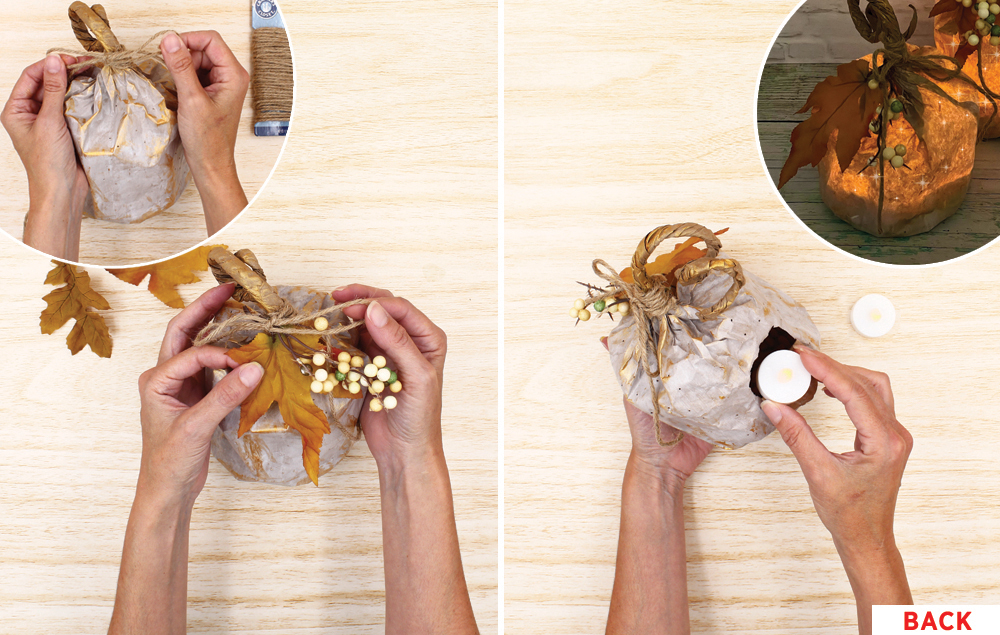
A) Tie a length of jute around the pumpkin stem. Tuck in some leaves and berries, if desired.
B) Insert LED tea lights through the flap on the back of the pumpkin.
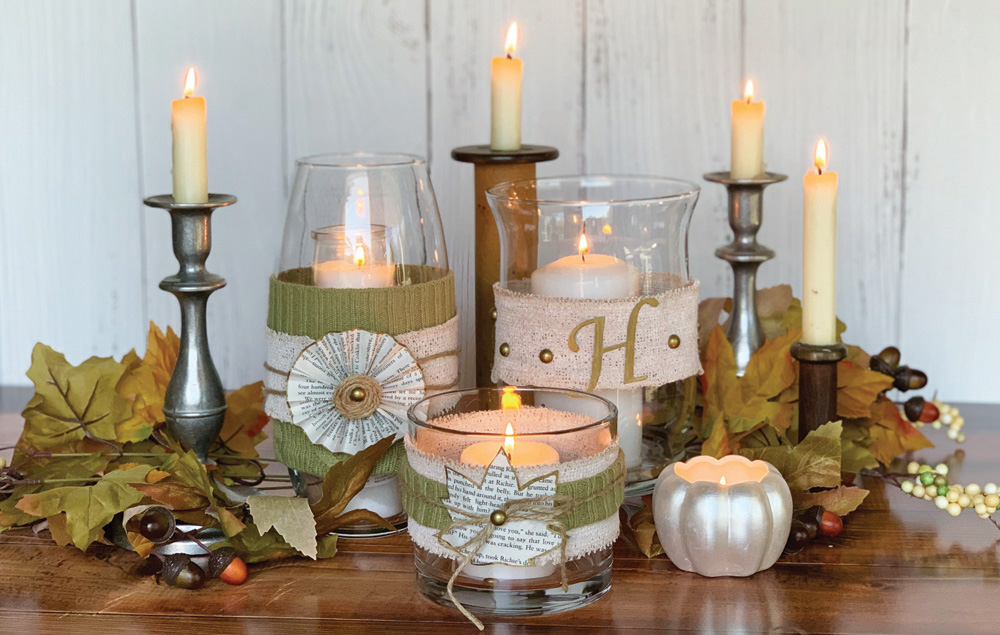
This gorgeous grouping of glass vases decorated with rustic touches will take your gathering to the next level! Create a personalized touch with a monogrammed accent...
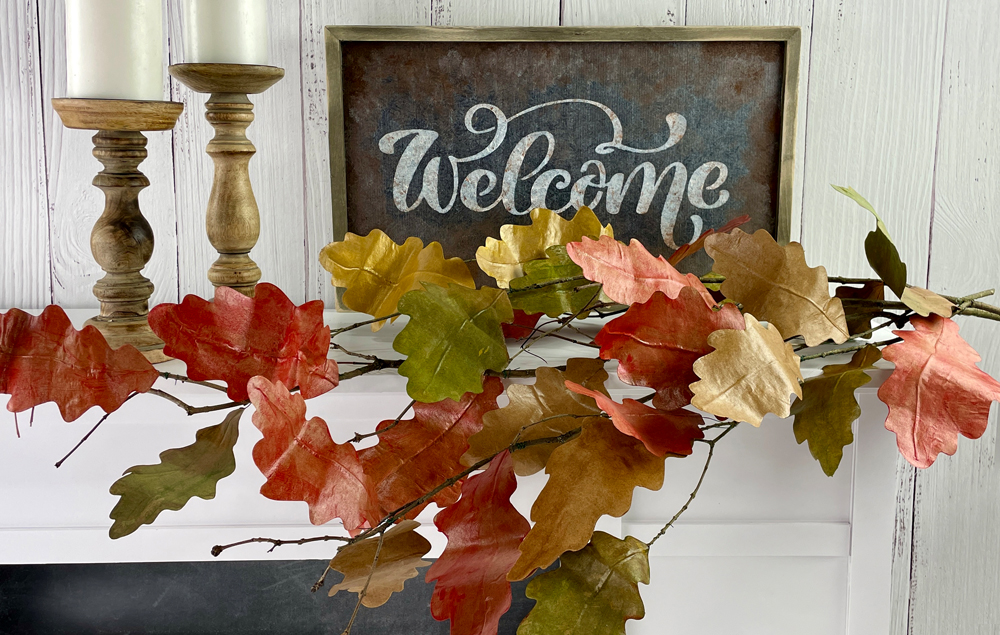
It’s always fun to use colorful leaves to decorate for fall! This branch full of realistic paper leaves will look gorgeous on a tabletop or mantle. You can use recycled paper bags or kraft paper to create this autumn craft...