Clothespin Puppets
June 20, 2023
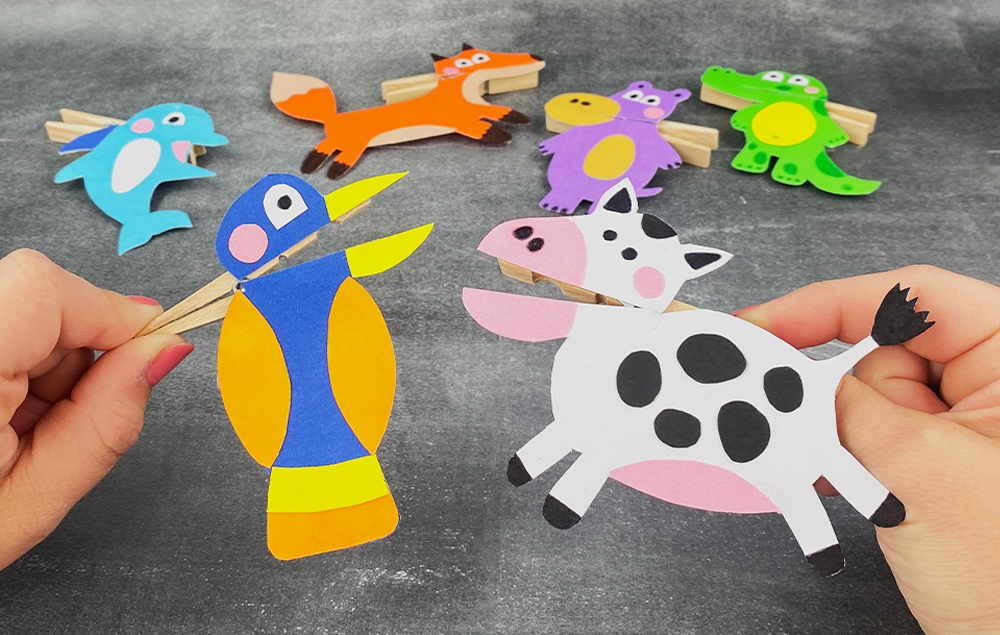
Spark your students' imaginations with an adorable clothespin puppet craft! Attach cute cardstock animals to clothespins so their mouths open and close, bringing puppet characters to life with a simple pinch.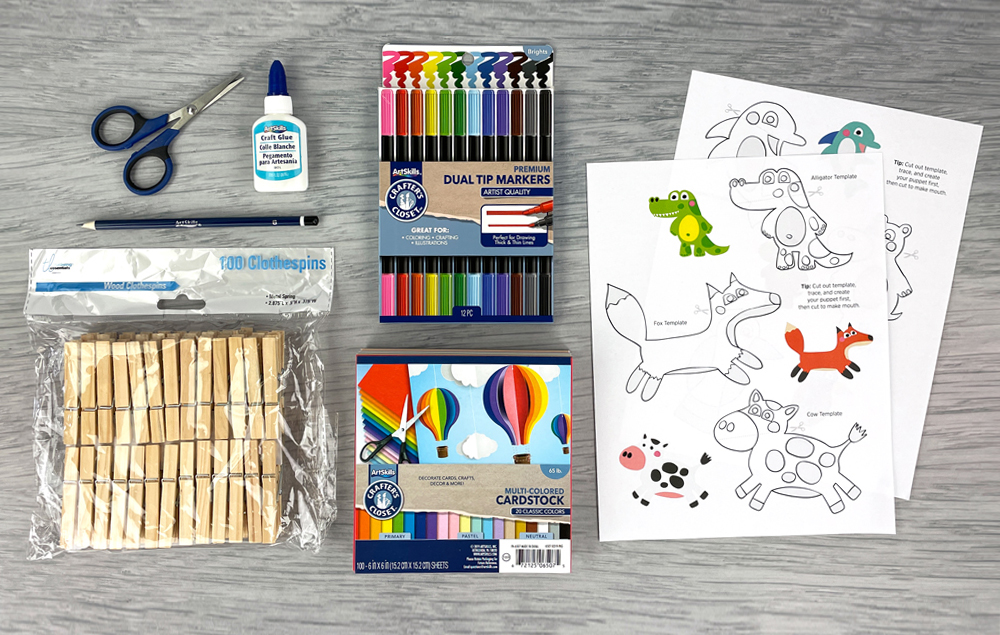

What You'll Need:
- Clothespins
- Crafter’s Closet Multi Colored Cardstock
- Crafter’s Closet Dual Tip Markers
- Pencil
- Glue
- Scissors
- Template
Let's Get Started
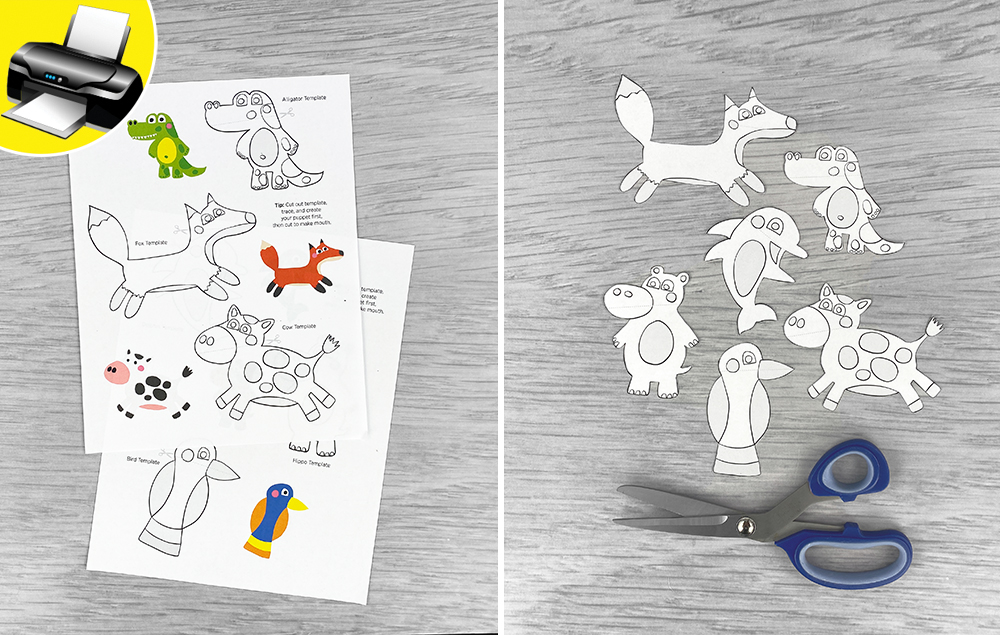
STEP 1:
A) Print out the templates.
B) Cut out the main outline shapes for each of the puppets.
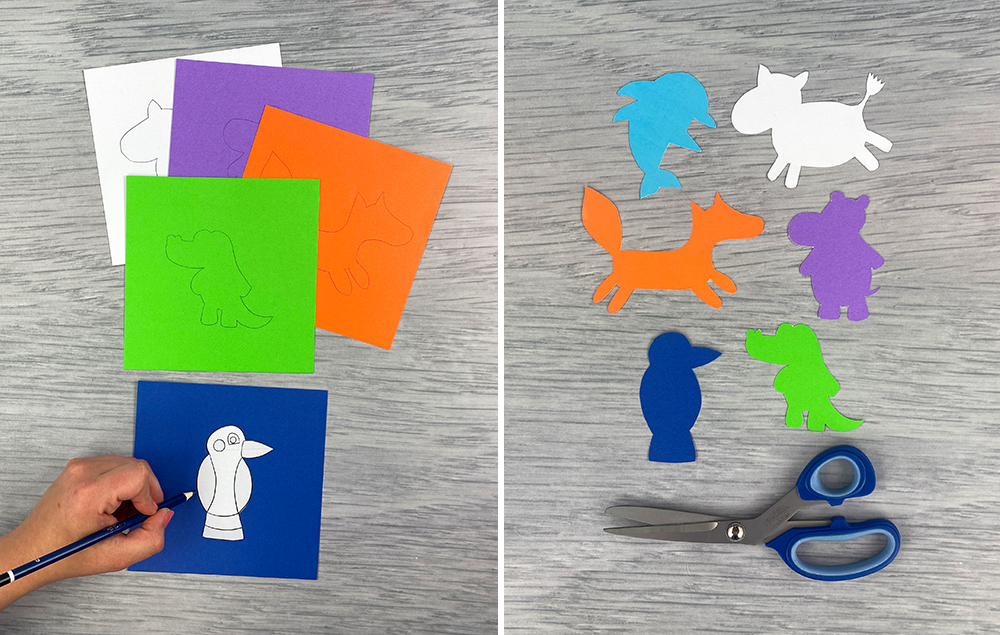
STEP 2:
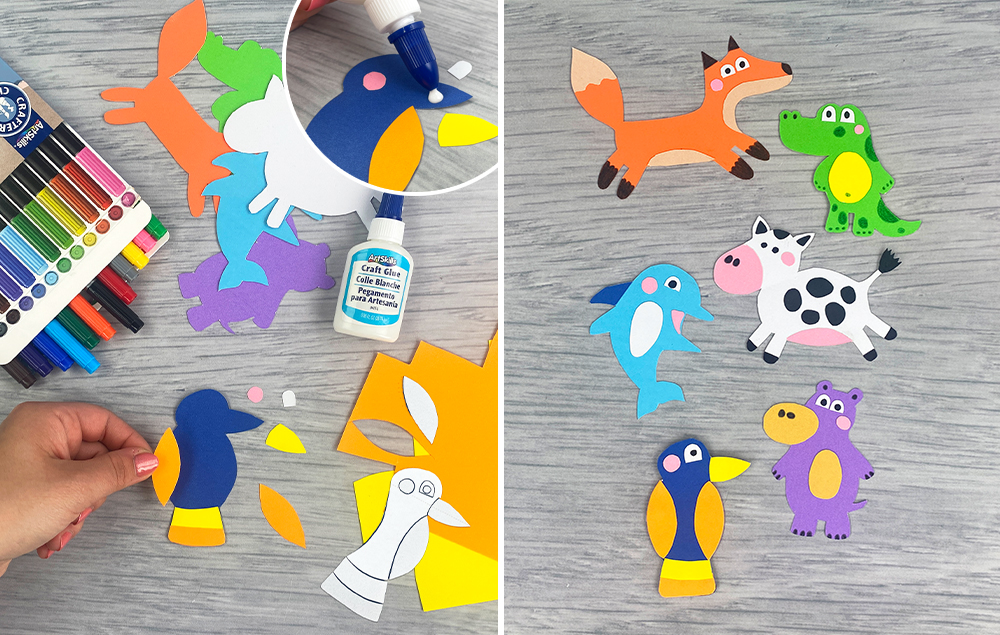
A) Trace the templates onto cardstock to make the main puppet shapes. Use different colors of cardstock to give each puppet its own personality!
B) Cut out the puppets.
STEP 3:
A) Have fun decorating the puppets with cardstock and markers. Suggestions are provided, or you can get creative and make your own designs!
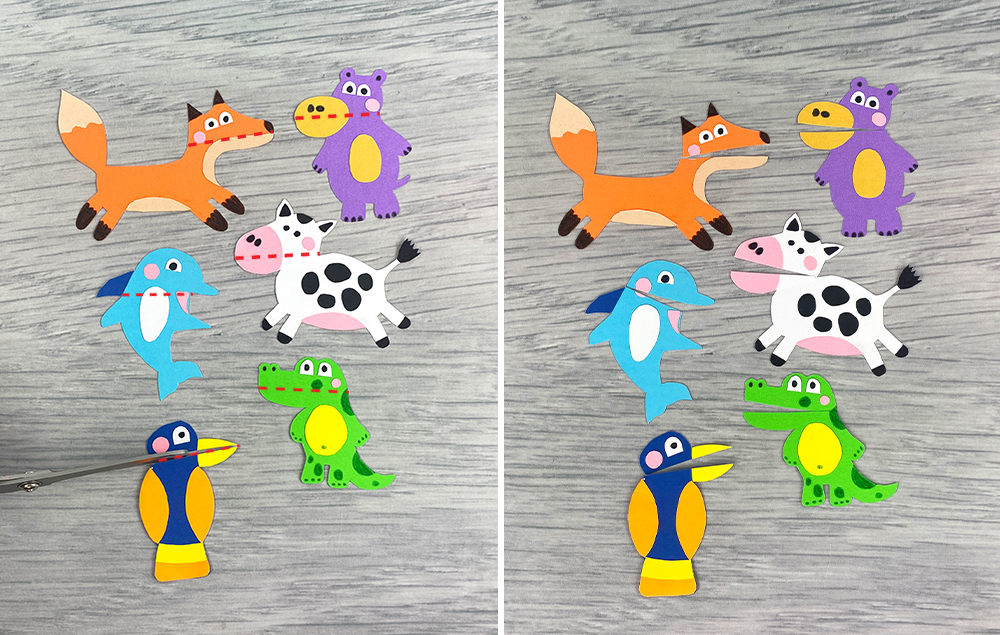
STEP 4:
A) Use the guides on the template to cut the heads of each puppet and make the “mouths.”
B) Cut mouths on all of the puppets.
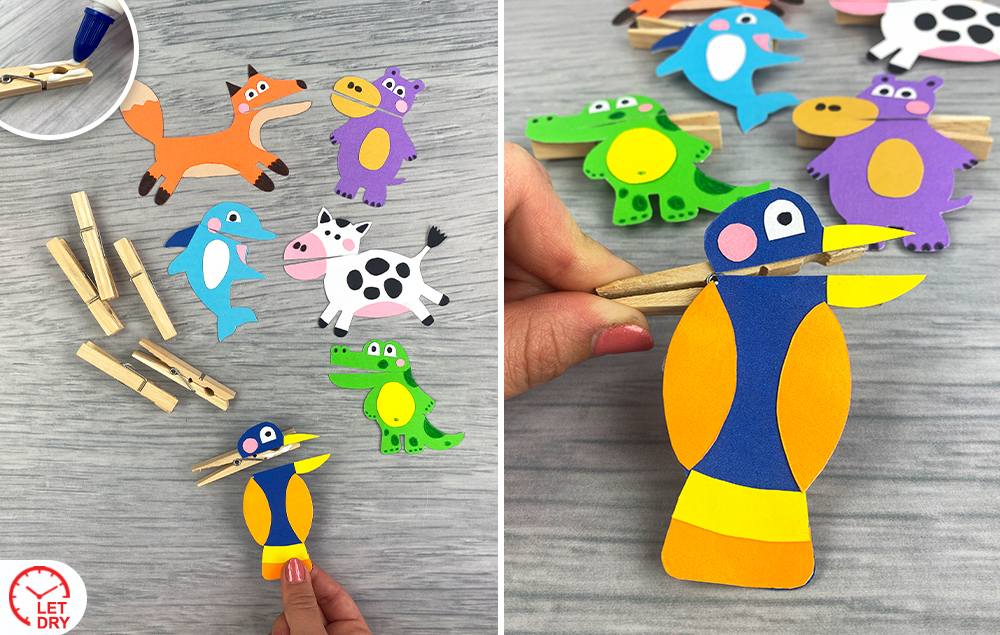
STEP 5:
A) Apply glue to the clothespin and adhere the body and head of the puppet. Let dry.
B) Pinch the clothespin to make the puppet talk!
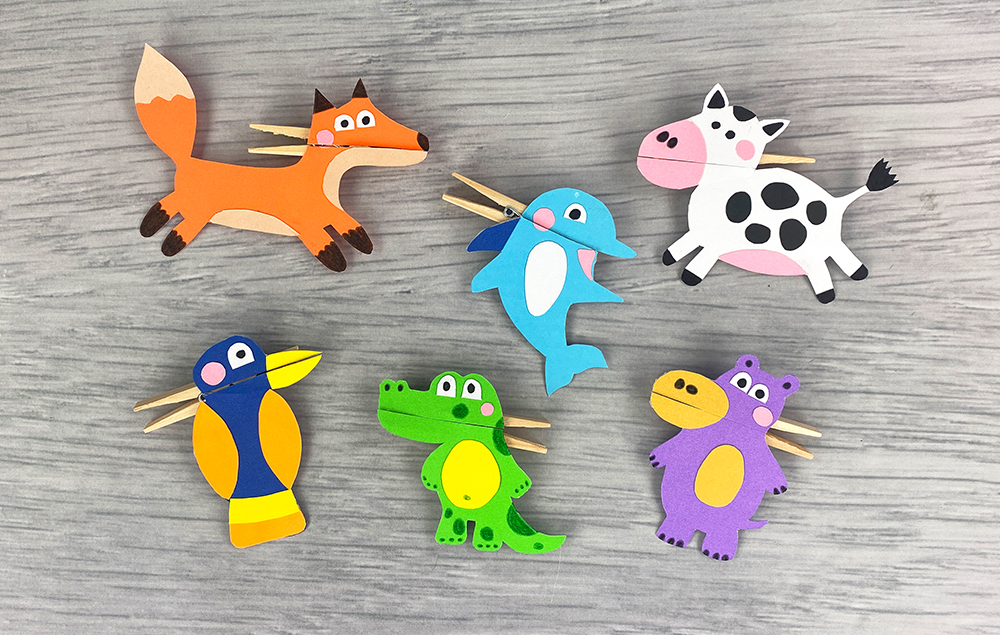
STEP 6:
A) Repeat the process to complete all the puppets.
Clothespin craft
Crafts with clothespins
clothespin puppets
free printable clothespin puppets
clothespin animals
clothespin crafts
crafts from clothespins
clothespins crafts
clothespin crafts for kids
easy clothespin crafts
clothespin craft ideas
crafts with clothespins ideas
teacher craft ideas
classroom crafts
kid crafts
kids crafts
kids craft ideas
classroom craft
Related Posts
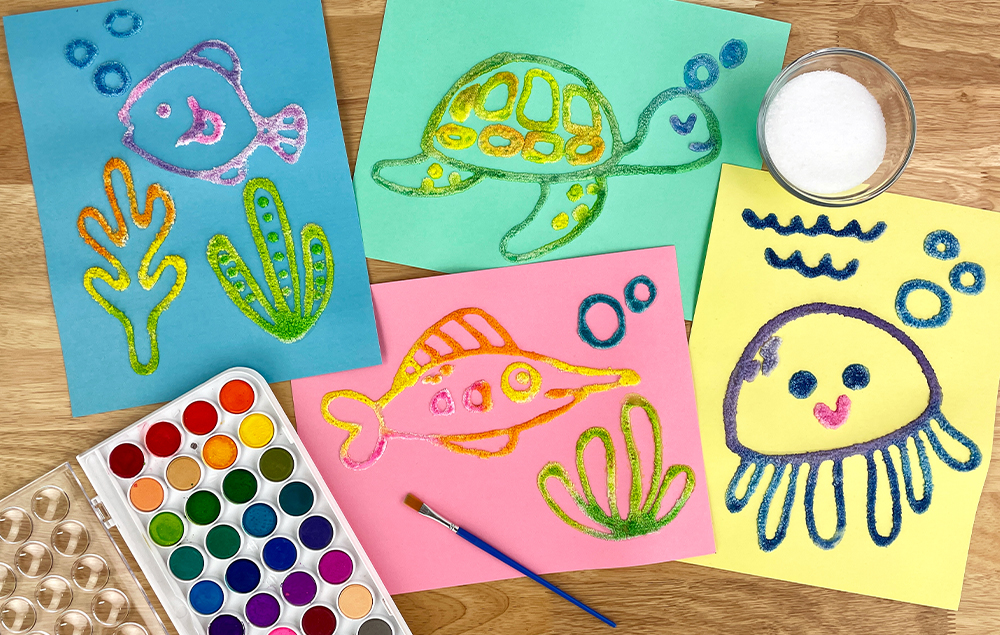
Engage your students' creativity with the captivating art of salt painting! This hands-on craft involves drawing glue lines, sprinkling salt, and applying watercolors to create mesmerizing effects as the colors effortlessly blend into the salt medium...
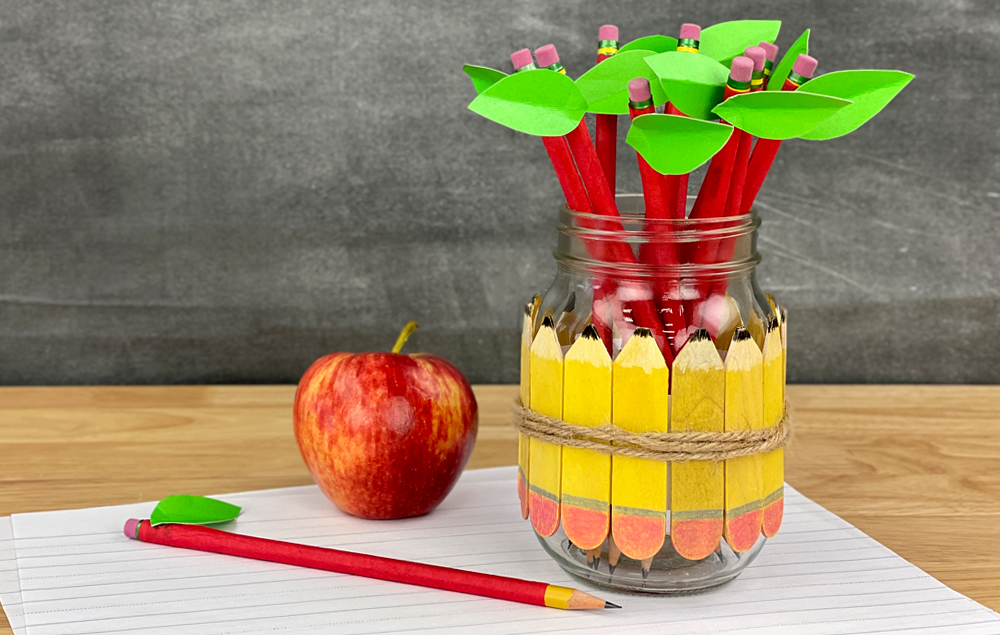
This cute and easy-to-make DIY pencil jar project will add a touch of creativity and organization to any teacher's workspace, making it the perfect classroom decor item...
Categories


