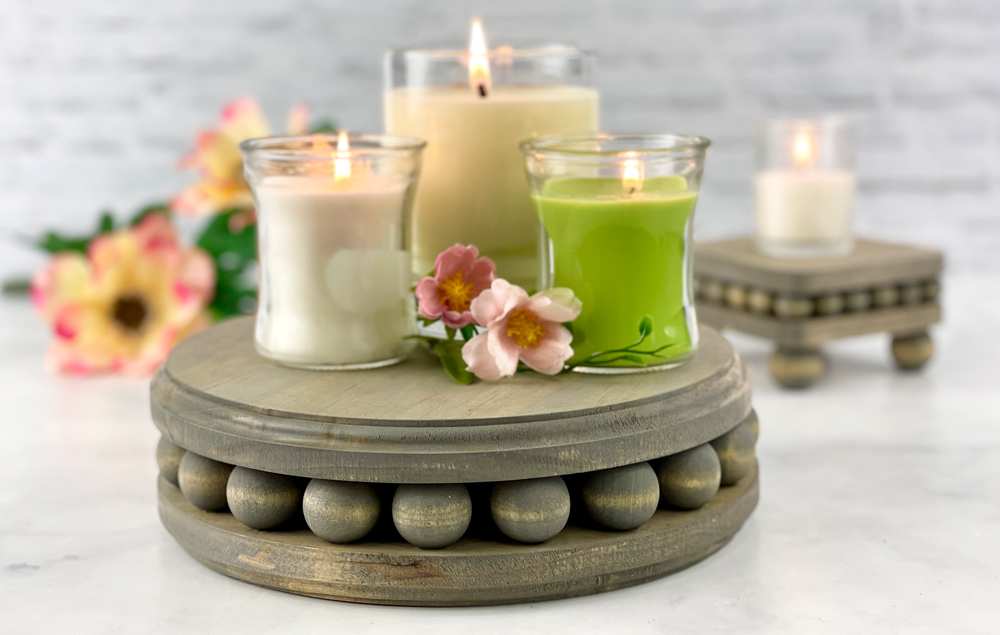
This beautiful DIY wood riser is so simple, but it makes quite an impact! The size is customizable, so you can follow this tutorial to create a wood bead riser suitable to your home decor needs.
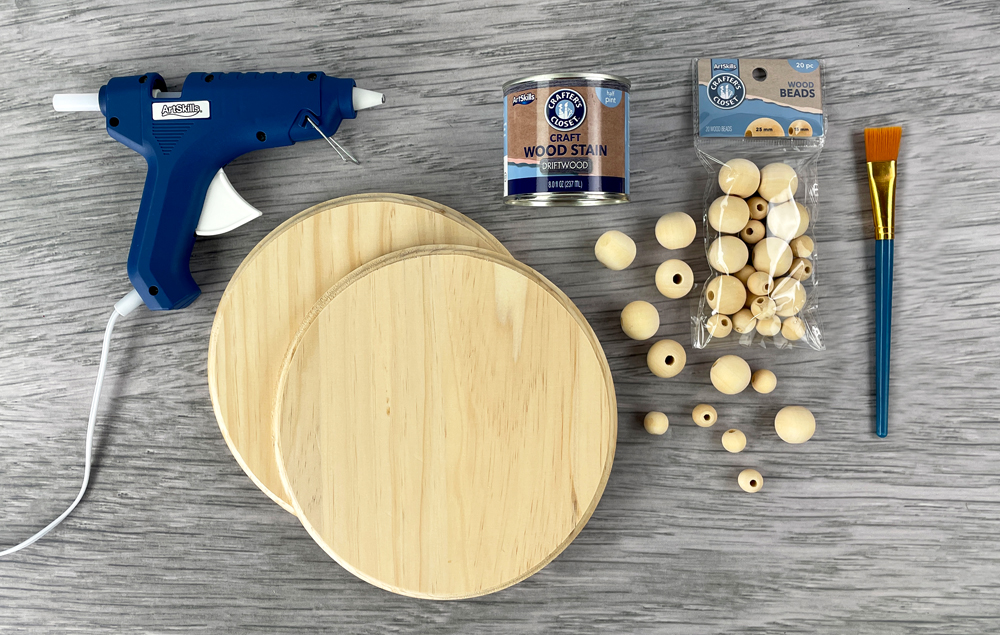
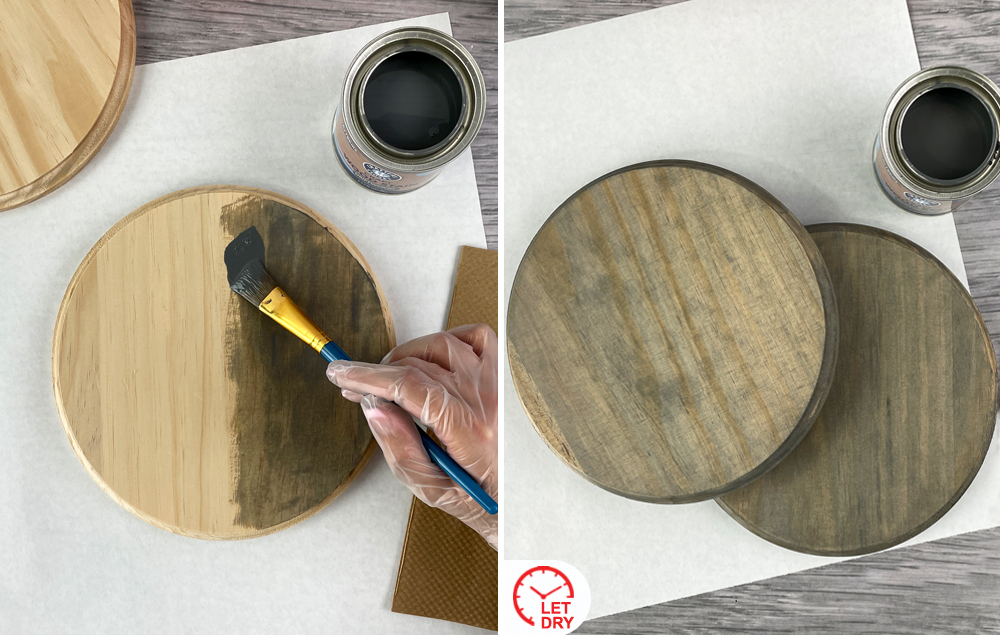
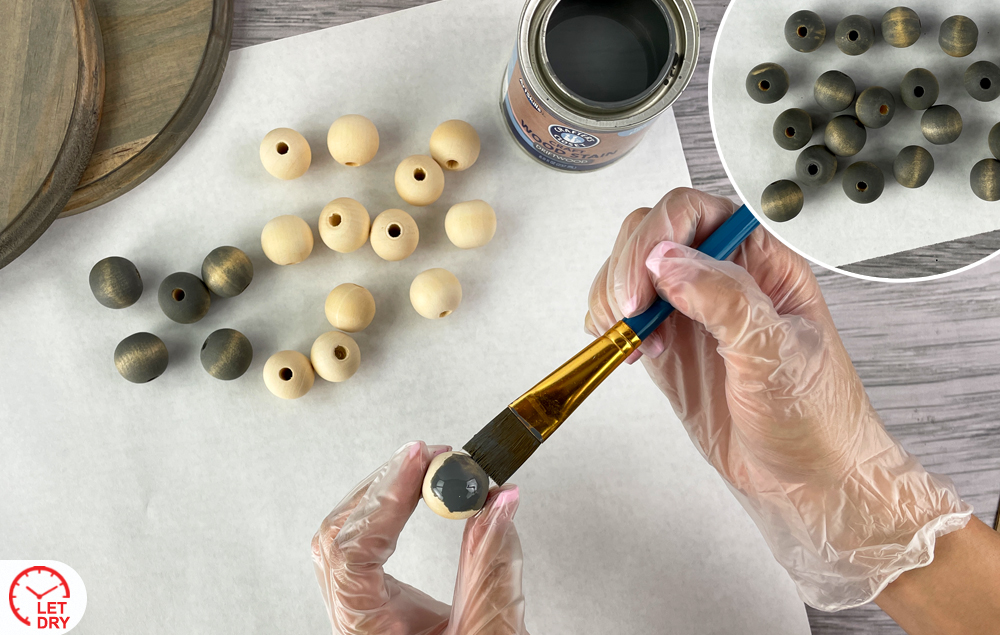
A) Stain the wood beads. Let dry. Tip: Figure out placement and quantity needed before staining.
STEP 3:
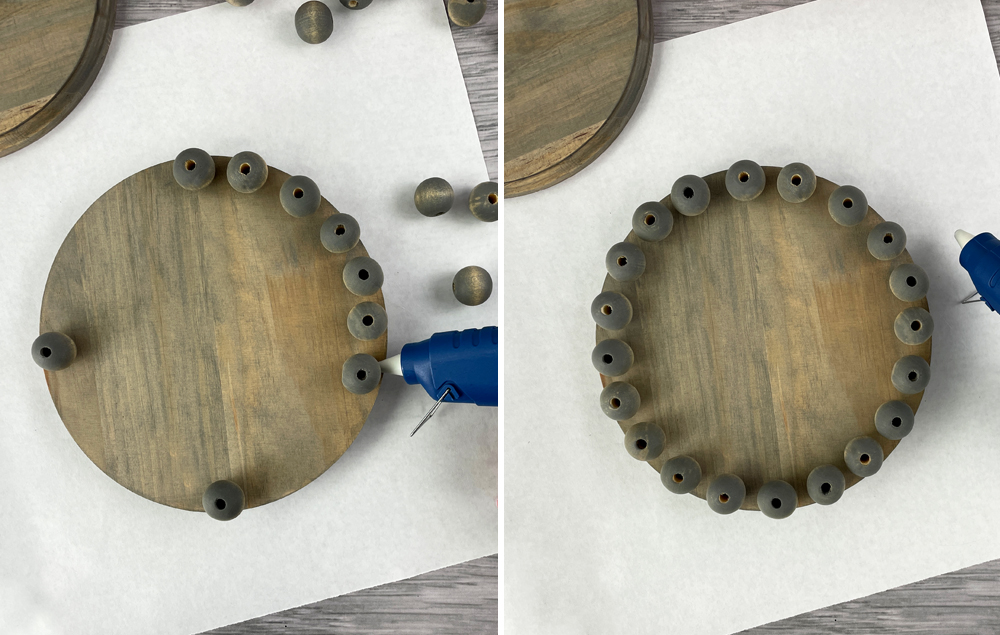
A) Glue four wood beads to the bottom of one of the wood rounds. Place them on four opposite sides to act as guides. Keep the beads at the edge of the wood round.
STEP 4:
A) Begin filling in the four quarters with the wood beads. Glue them in place when you are happy with their position.
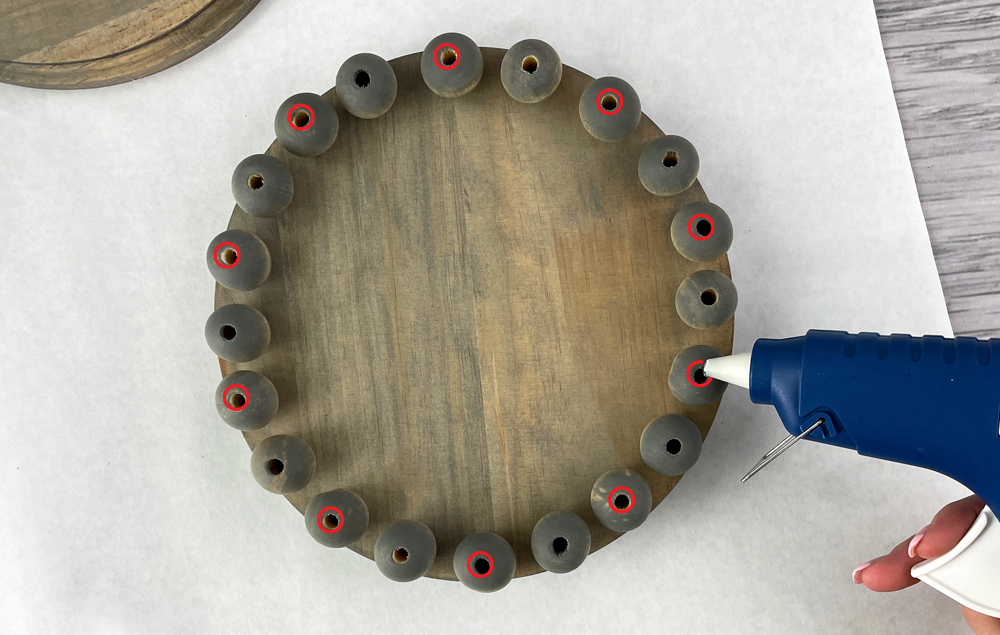
STEP 5:
A) Apply a dot of hot glue to the top of every other wood bead. Tip: Work quickly so the glue doesn’t cool and harden.
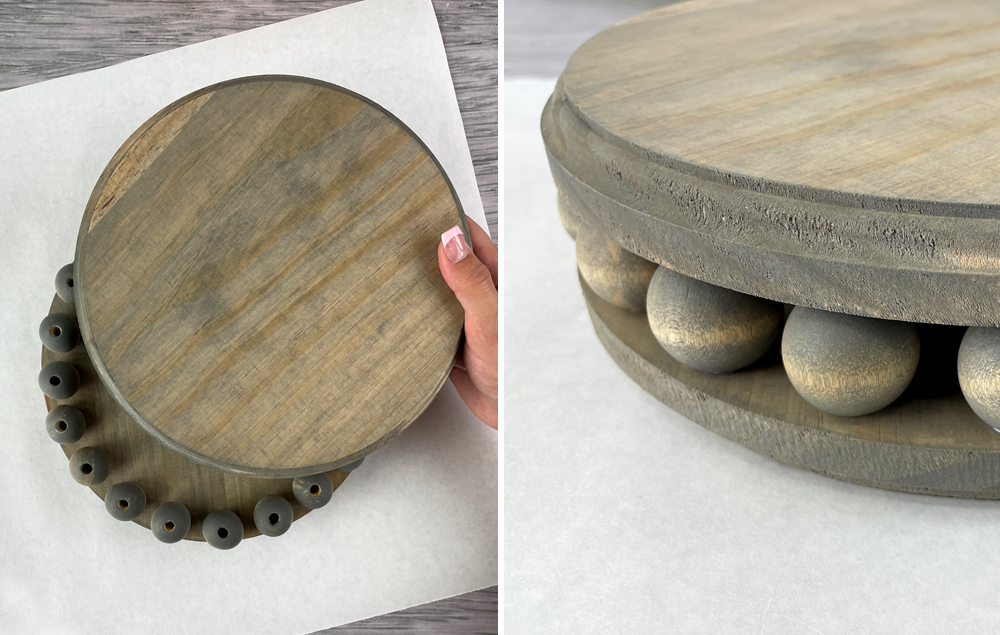
STEP 6:
A) Place the second wood round on top of the wood beads. Make sure to have the two wood rounds centered.
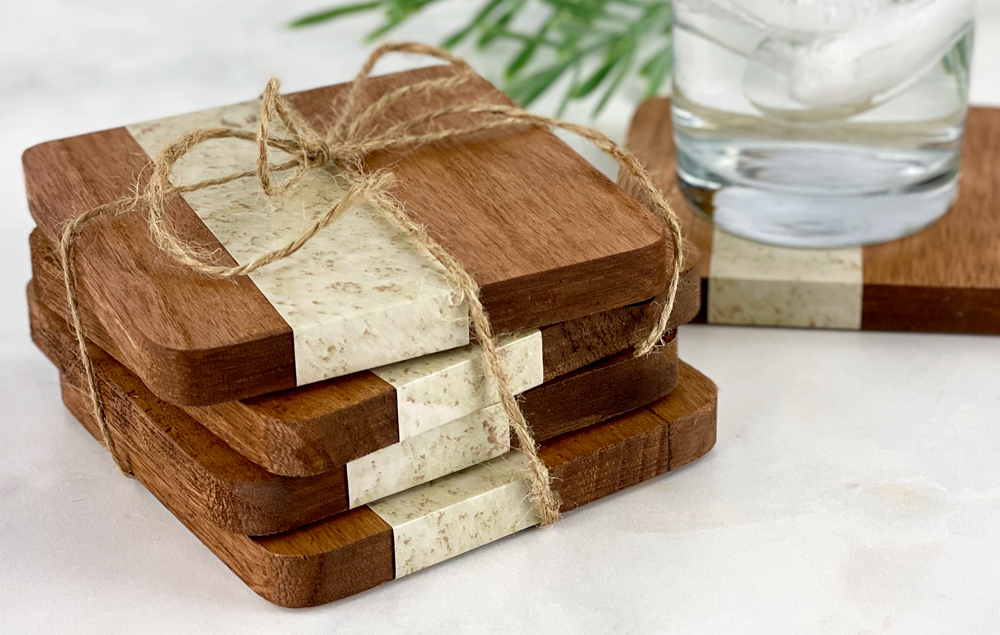
Add sophistication to your decor with these stylish DIY coasters. Follow our simple craft instructions to make a set for yourself, or give a set as a gift...
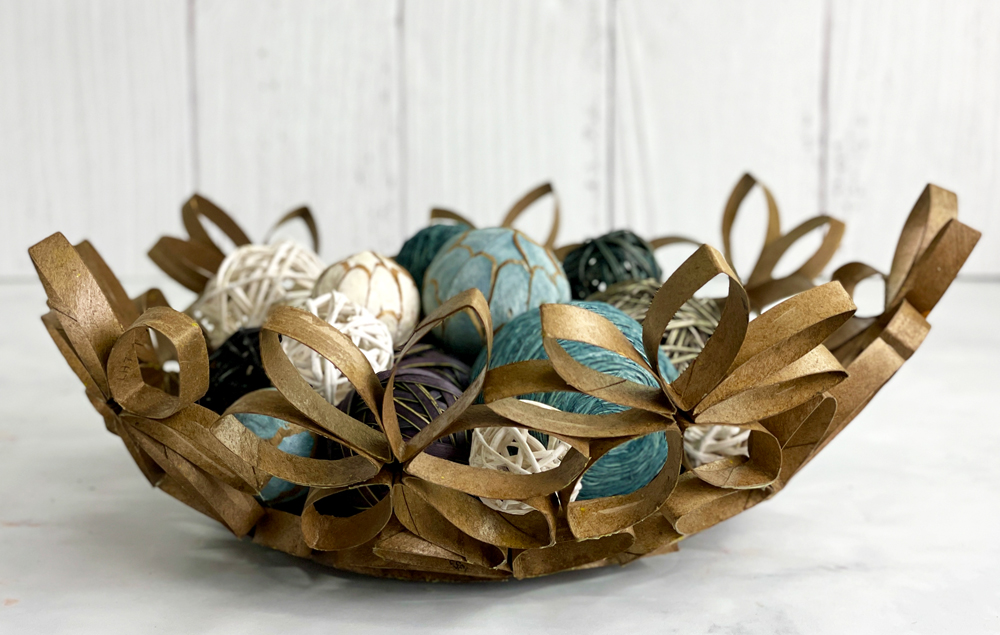
Who knew that an ordinary paper towel tube could create such a stunning piece of decor! Create pretty flowers from the tubes and glue them together to design a unique bowl...