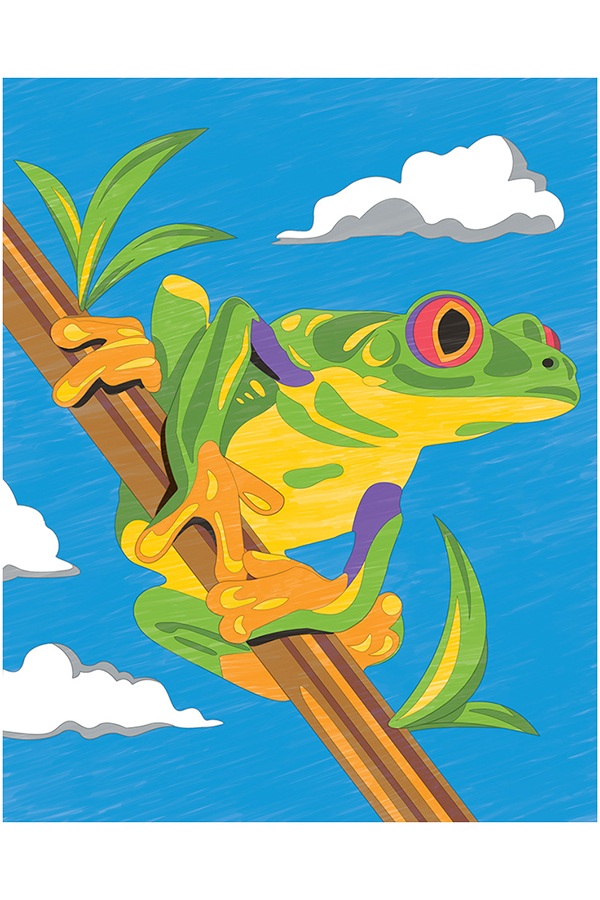
Marker - Tree Frog
Supplies Needed
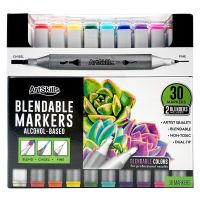
This project works best when using the materials shown below. These items can be found in the ArtSkills Premium Artist Case!
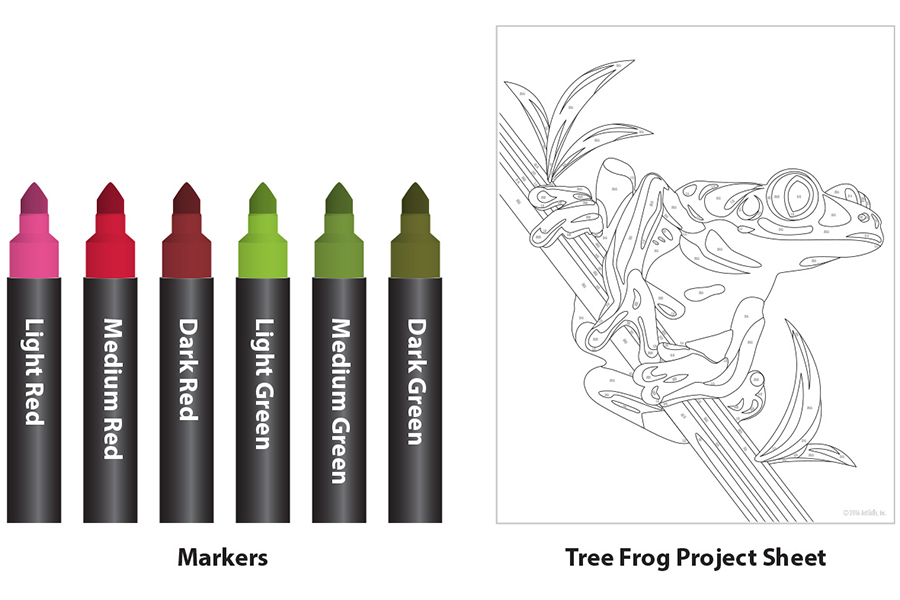

Tips & Tricks
Advanced Blending
Begin by laying down the lightest value of your color. Next, slightly overlap the lightest value with the medium value. For the last step, take the darkest value and overlap the medium value. This technique works best when the marker is still slightly wet on the page.
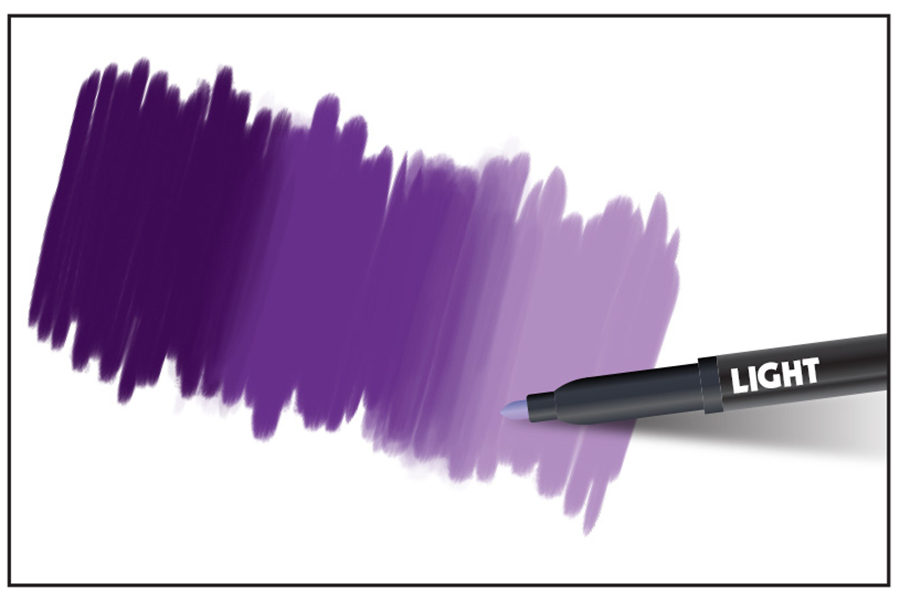

Use Quick Strokes
To avoid causing ink blots, try not to rest the marker on the paper for an extended period of time. Using quicker strokes will also result in a smoother line quality in your art, and an even tone of color throughout.
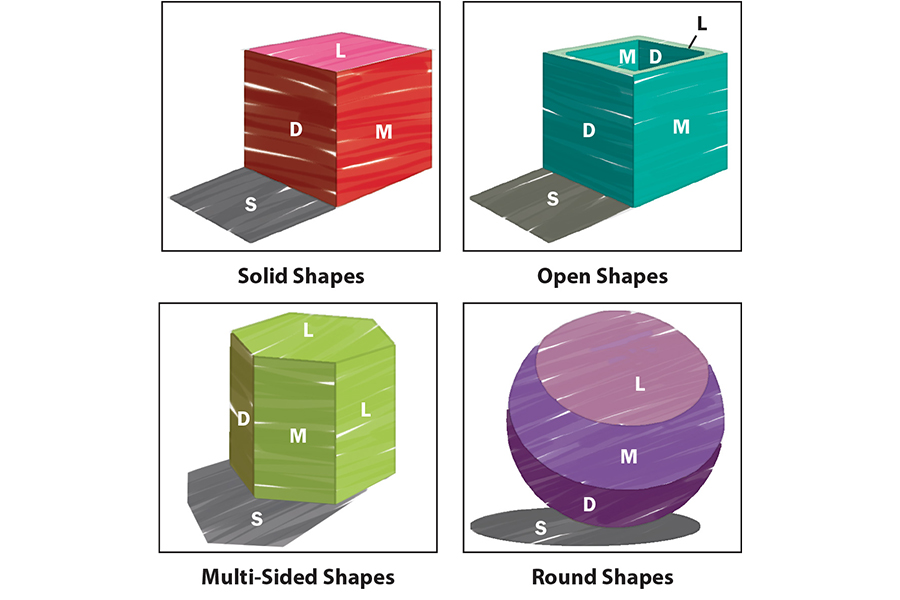
Use Light, Medium, and Dark Shades
The colors in these projects are specifically chosen to make your images appear three-dimensional with a range of Light, Medium, and Dark values in each hue. When light shines on an object, there is a Light side (L), a Medium side (M), and a Dark side (D). There is also sometimes a cast Shadow (S). Light affects different shapes and objects in different ways. Look at the examples below to see how the same light source shades different objects.

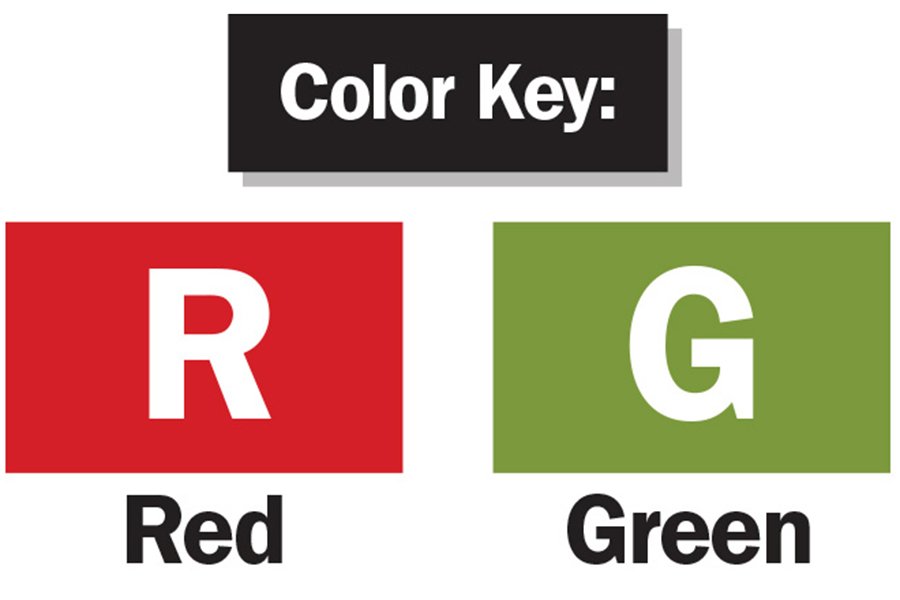
Color Key
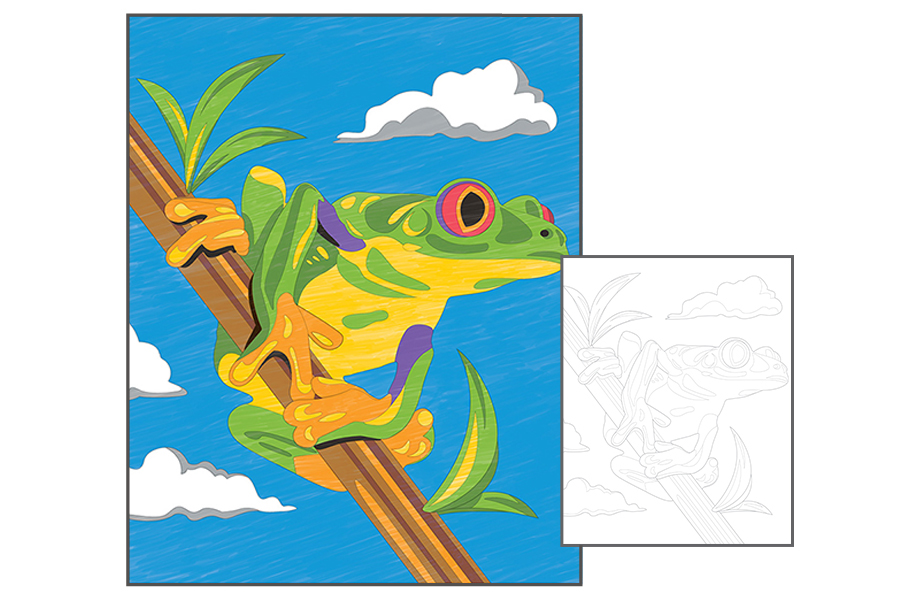
Use the Color Key below to complete the project.

Let's Get Started!
STEP 1:
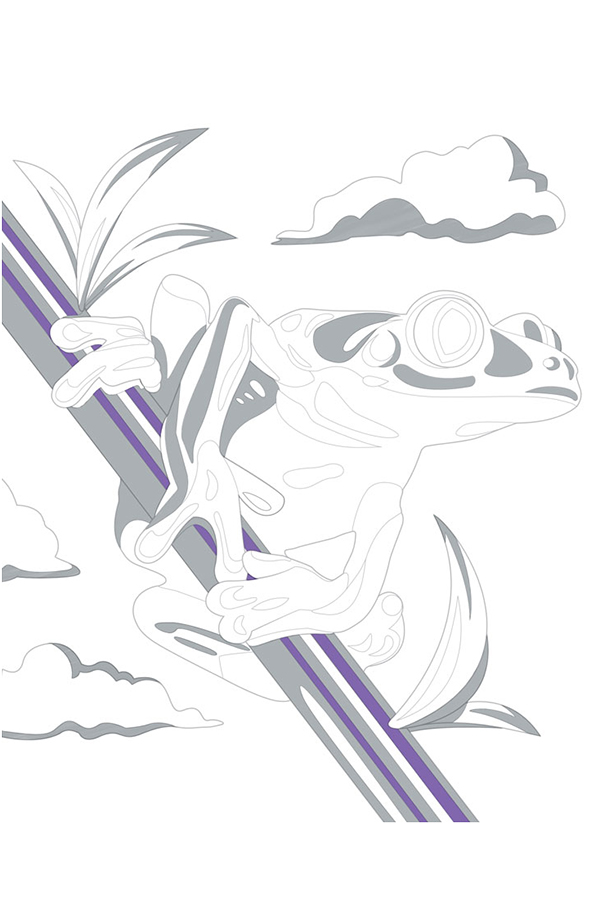
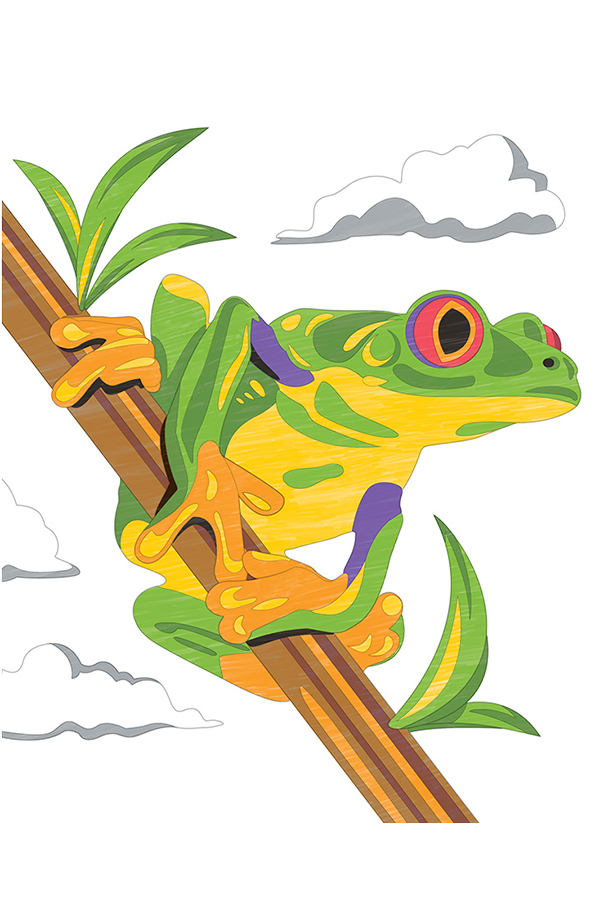
Begin by coloring grey in the areas shown. These areas will turn into shadows when colored over. Streak in a line or two of purple into the branch; this will add a deeper shadow to the wood.

STEP 2:
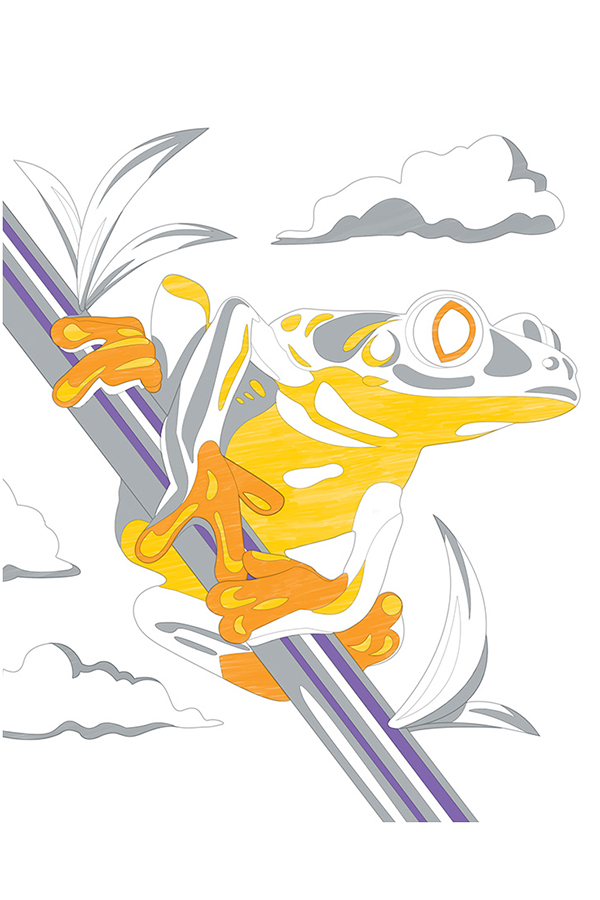
Moving to your lightest colors, color the yellow highlights of the frog. Go in and lay down the orange of the frog’s feet and eyes.

STEP 3:
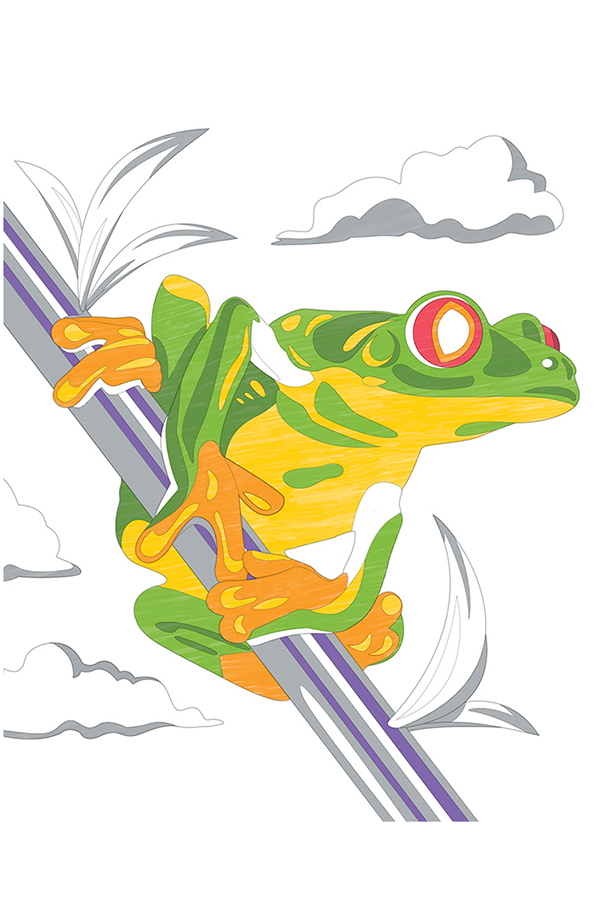
Next, color in the green body. Color around the yellow highlights and cover the grey shadow to create your darker green. Add red to the frog’s eye, as shown.

STEP 4:
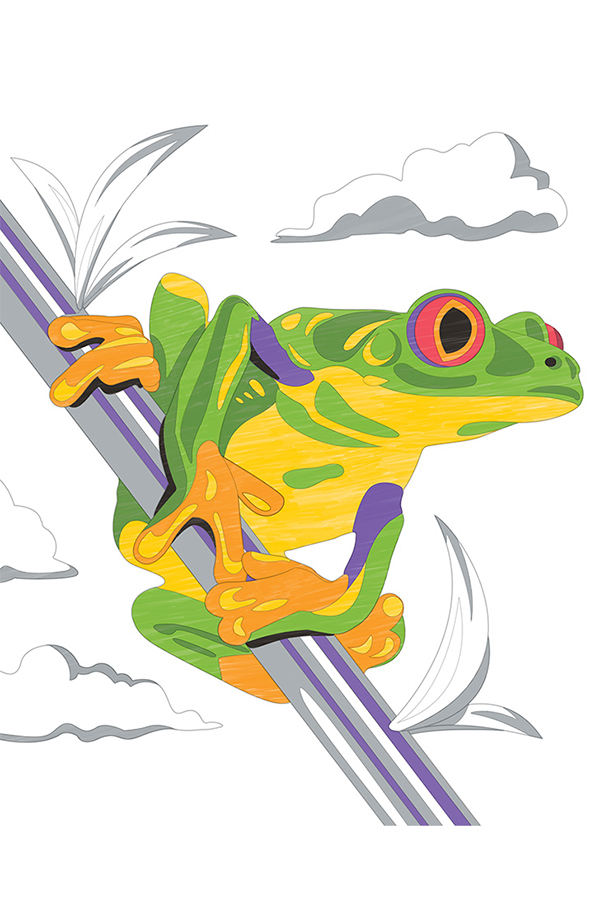
Using your purple marker, add detail around the outer edge of the eye and the purple upper segments of the frog’s arms. Fill in the pupil and nostril with black. Also use black for shadows under the feet and arm.

STEP 5:
Switching to the branch, fill it in with orange, covering the grey and purple. Color the yellow highlights of the leaves and the green base the same way you colored the frog.

STEP 6:
Fill in your background with blue, leaving the white of the paper for the clouds.
