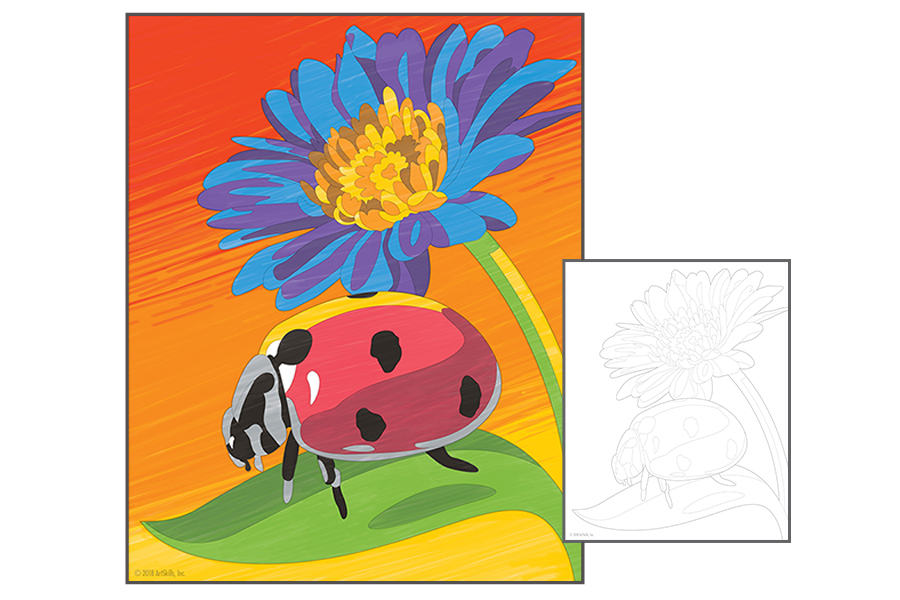
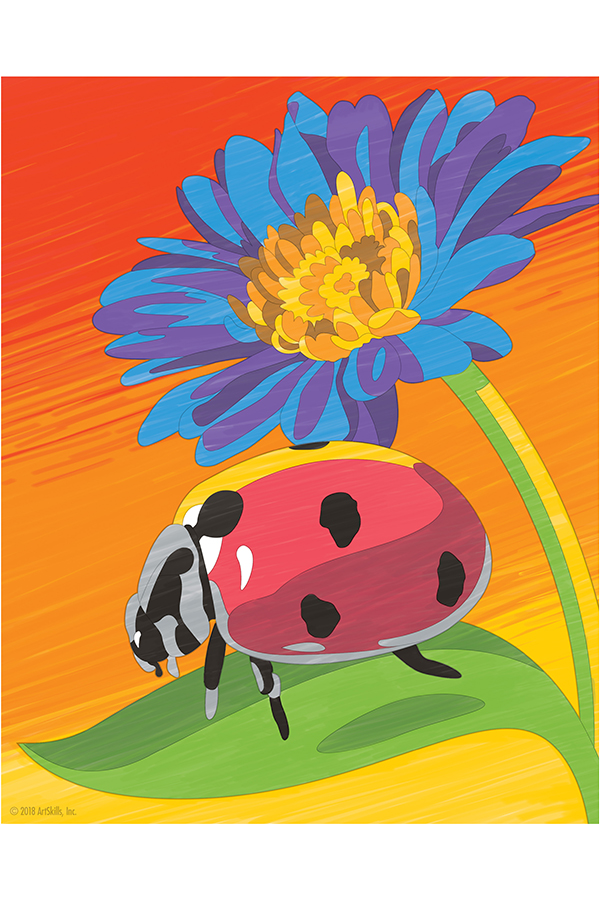
This printable project teaches you tips and techniques about using markers, perfect for artists of any age! Follow the steps below to create your own Ladybug.
Supplies Needed
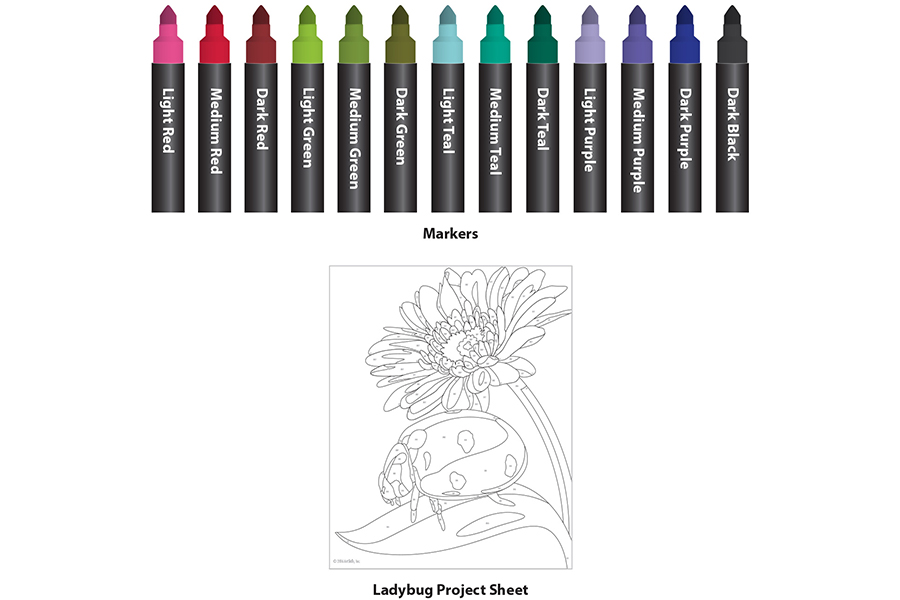
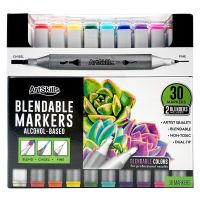
This project works best when using the materials shown below. These items can be found in the ArtSkills Premium Artist Case!
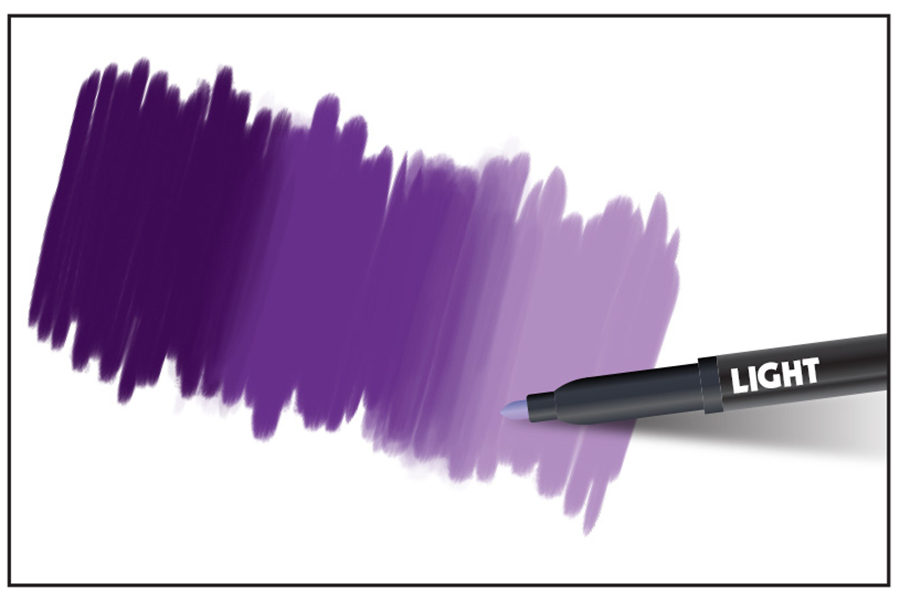
Advanced Blending Begin by laying down the lightest value of your color. Next, slightly overlap the lightest value with the medium value. For the last step, take the darkest value and overlap the medium value. This technique works best when the marker is still slightly wet on the page.
Use Quick Strokes
To avoid causing ink blots, try not to rest the marker on the paper for an extended period of time. Using quicker strokes will also result in a smoother line quality in your art, and an even tone of color throughout.
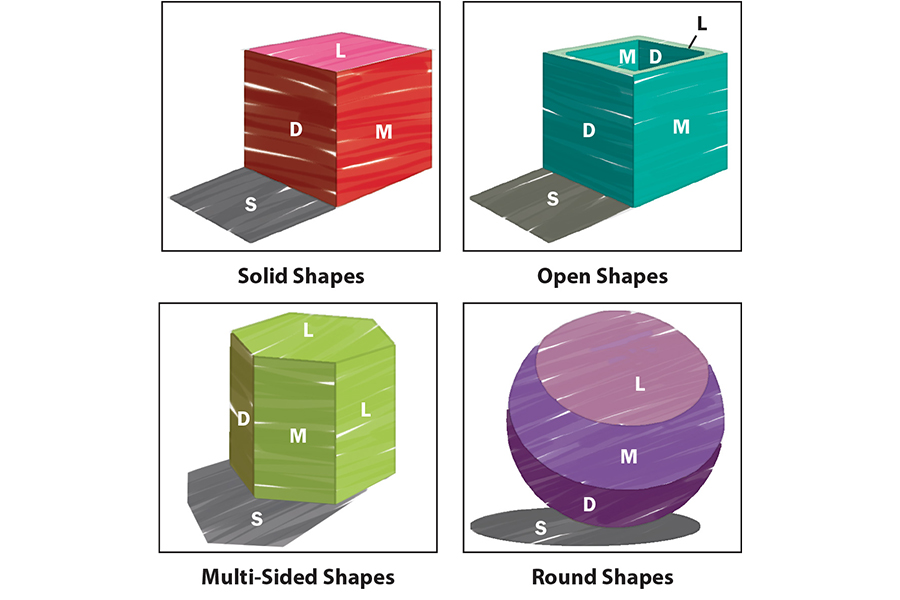
Use Light, Medium, and Dark Shades The colors in these projects are specifically chosen to make your images appear three-dimensional with a range of Light, Medium, and Dark values in each hue. When light shines on an object, there is a Light side (L), a Medium side (M), and a Dark side (D). There is also sometimes a cast Shadow (S). Light affects different shapes and objects in different ways. Look at the examples below to see how the same light source shades different objects.
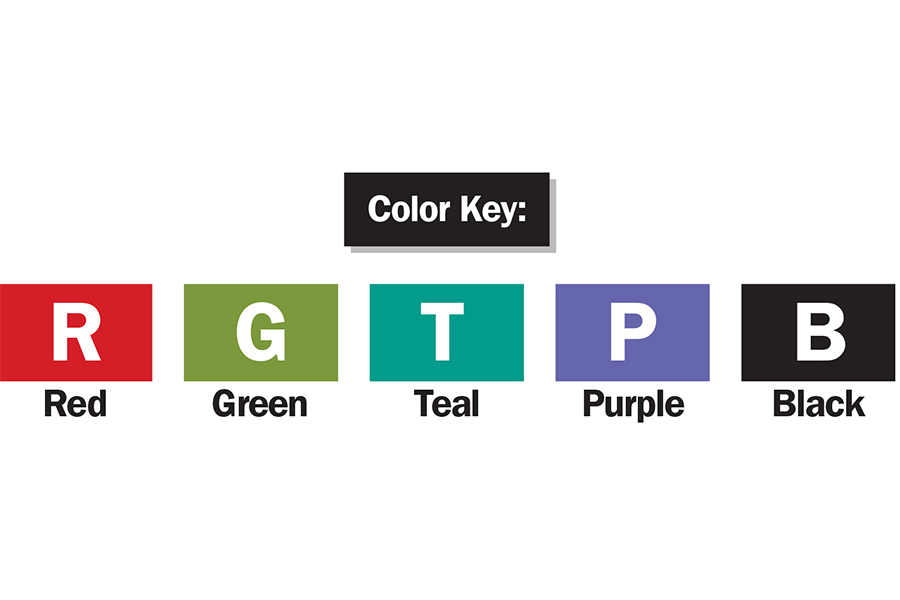
Color Key
Use the Color Key below to complete the project.
Let's Get Started!
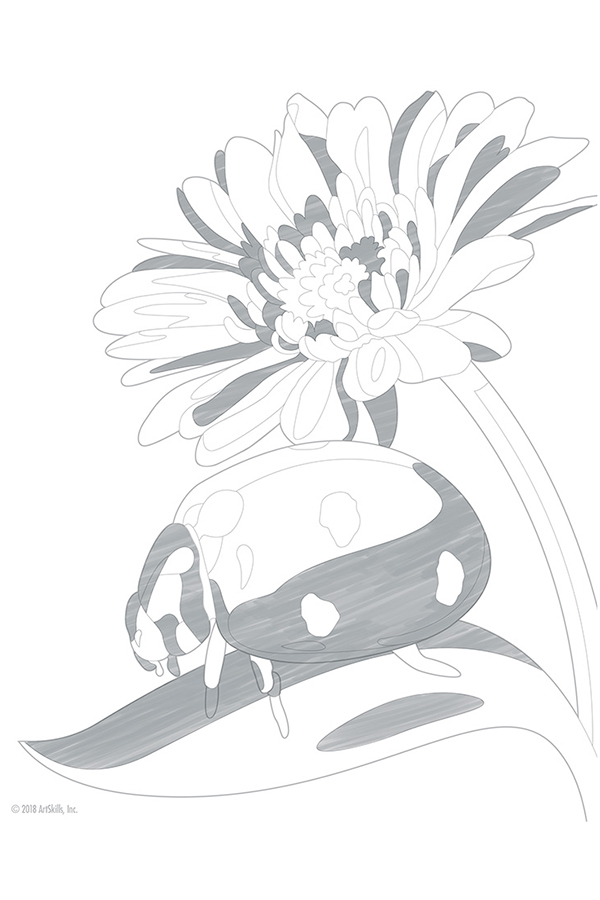
STEP 1:
Begin by coloring grey in the areas shown. These areas will turn into shadows when colored over.
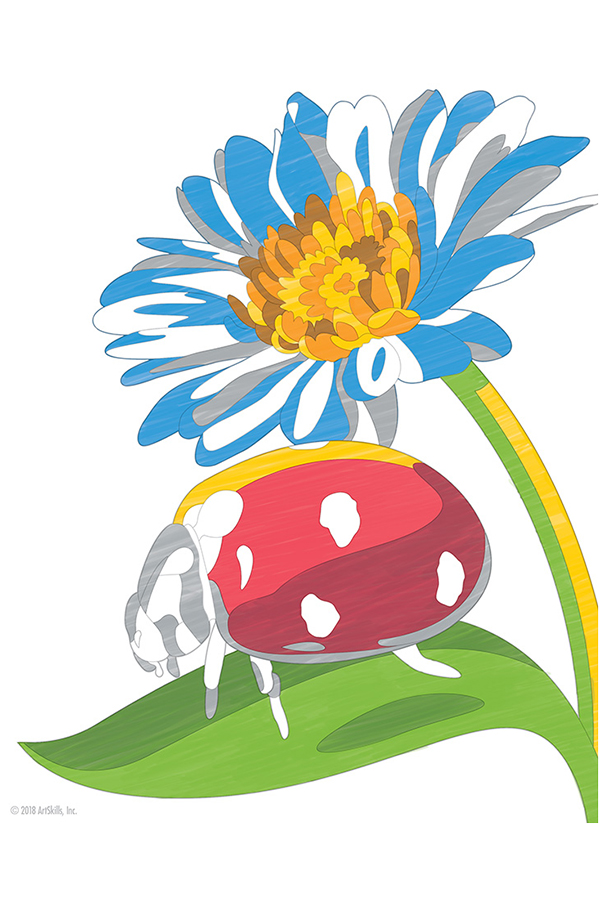
STEP 2:
Moving to your lightest colors, color the yellow highlights of the ladybug’s shell and the stem. In the flower’s center, add in yellow and then your orange, making sure to go over any grey, creating a darker orange.
STEP 3:
Next, color in the green leaf and stem. Color around the yellow highlight and cover the grey shadows. Add in the ladybug’s red shell and the blue flower petals.
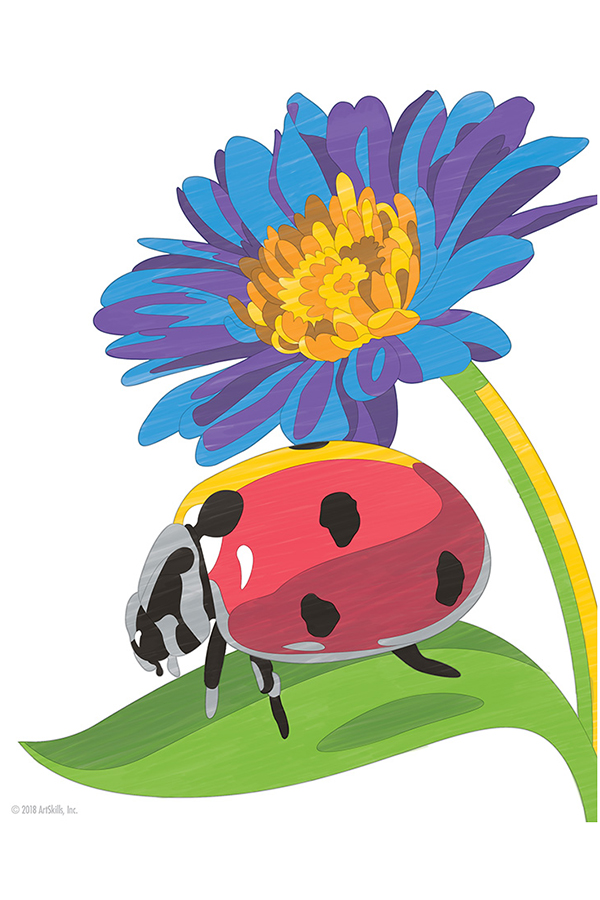
STEP 4:
Using your purple marker, color the remaining flower petals. Fill in the ladybug’s body and spots with black.
STEP 5:
Fill in your background with red, orange, and yellow. Blend down from the top for a sunset effect.