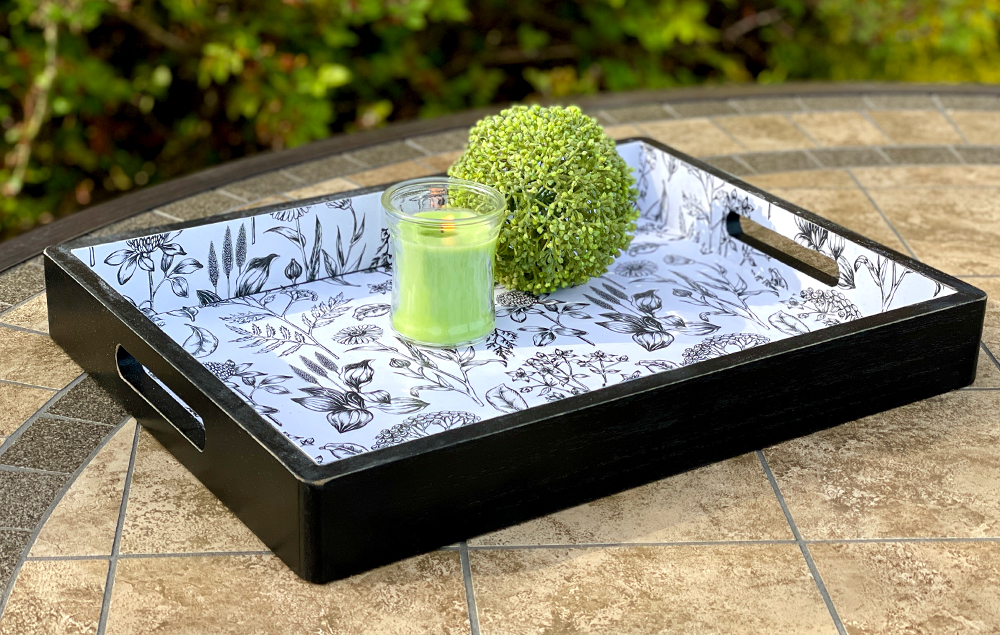
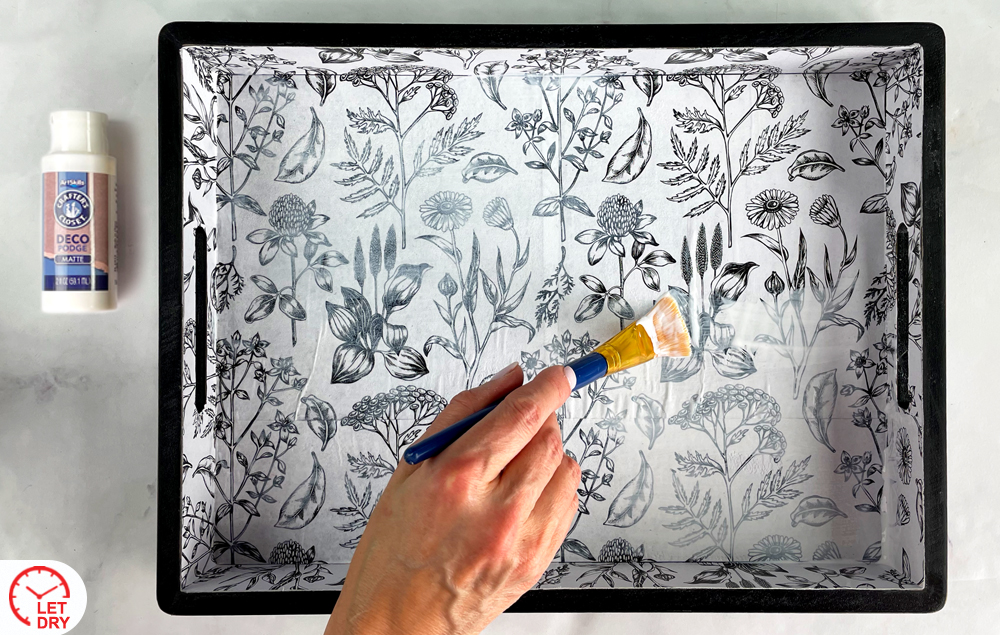
This DIY wooden tray has a gorgeous floral pattern! Simply print out the template and apply with deco podge to recreate this stunning decorative serving tray.
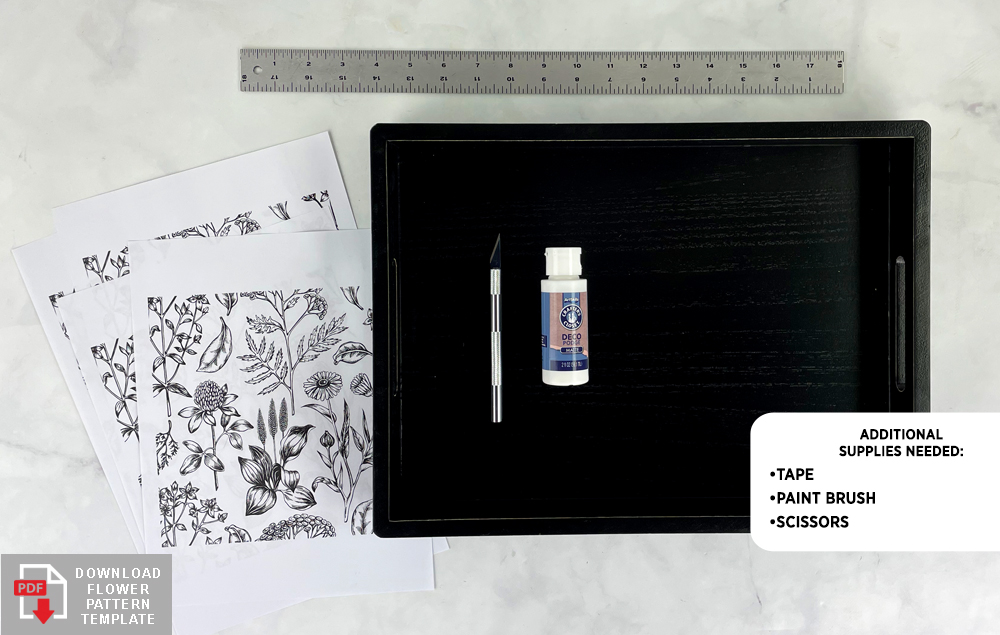
A) Print out enough patterned paper template sheets to cover the bottom and sides of the wood tray. Note: The pattern on the template repeats, so you can match all four sides when you cut the pieces.
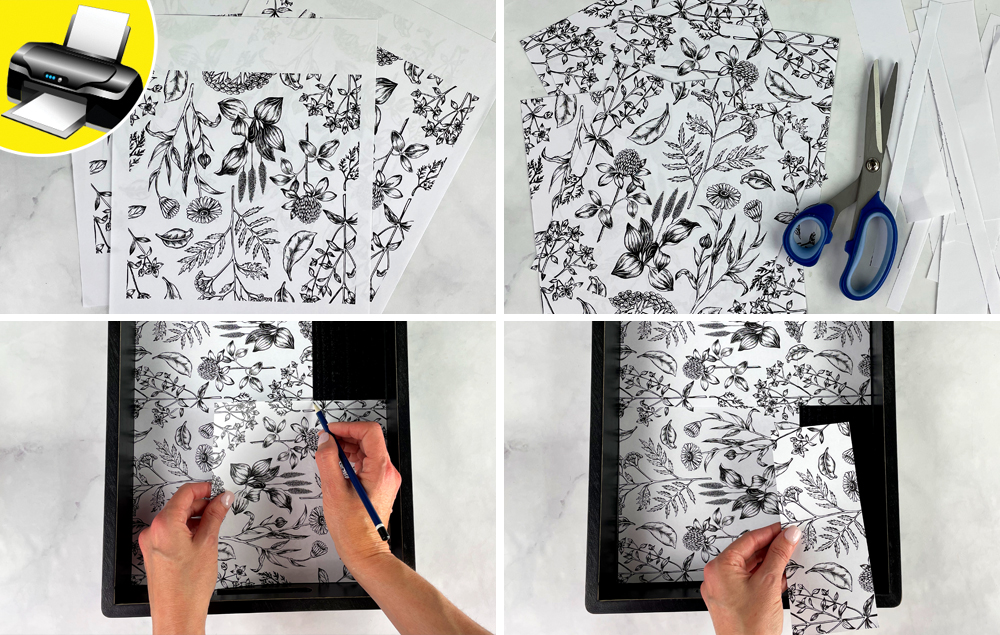
B) Trim the excess white border from the floral patterned papers.
C) Measure and cut the patterned paper so you're able to cover the bottom of the tray. Note: Match the pattern as you piece the papers together.
D) Place the pieces on the bottom of the tray to make sure they fit and the pattern matches.
STEP 2:
A) Measure and cut the patterned paper so you're able to cover the sides of the tray.
B) Place the pieces around the sides as you cut them.
C) Set all the pieces in place on the bottom and sides to make sure they fit.
STEP 3:
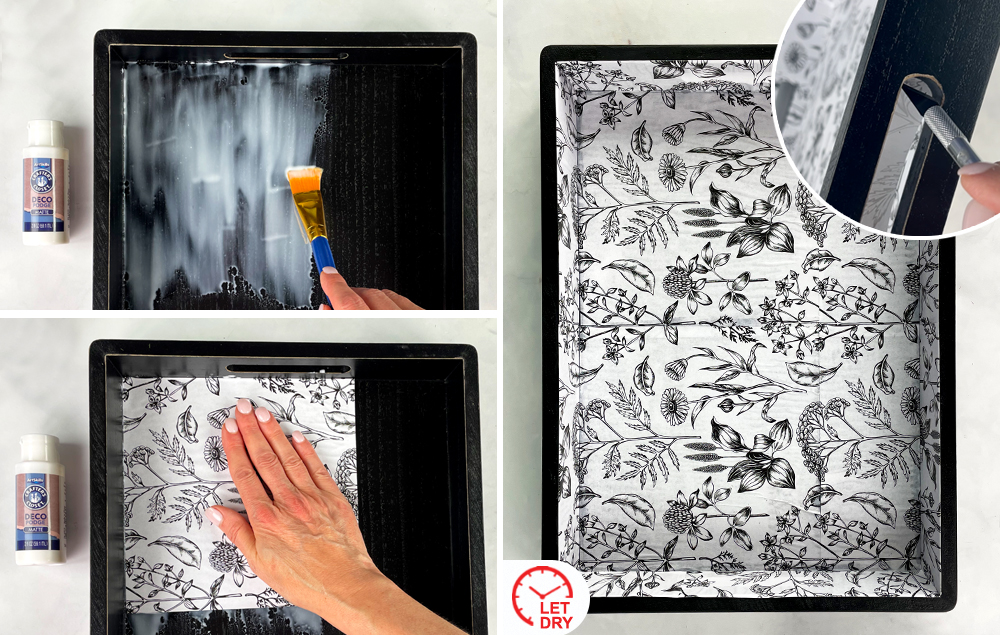
A) Apply deco podge to the bottom and sides of the wood tray.
B) While the deco podge is still wet, set the paper pieces in place on the tray. Press the paper into the deco podge and smooth out any bubbles.
C) Completely cover the bottom and sides of the tray with deco podge and paper. Note: Once the deco podge is dry, you can cut out the handle holes if needed.
STEP 4:
A) Mix deco podge and water in a 1:1 ratio. Note: Use a bowl that is shallow and wide enough to accommodate the size of the completed flowers.
B) Dip the flowers into the mixture to coat them completely.
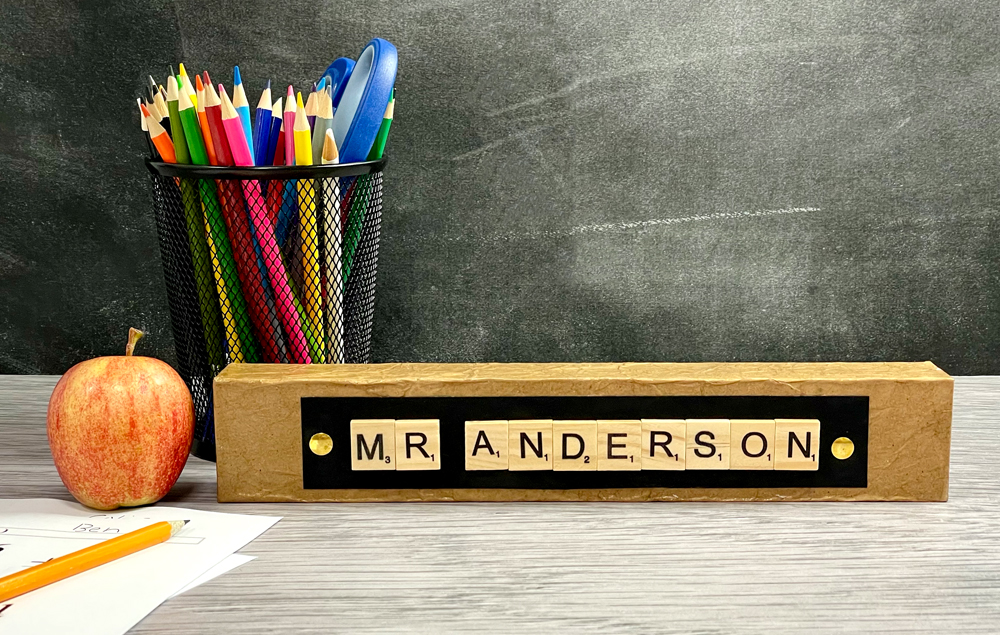
Reminiscent of a paper bag book cover, this personalized nameplate will add old-school charm to any teacher's desk! It makes a thoughtful gift for a new teacher or a great addition to your own classroom...
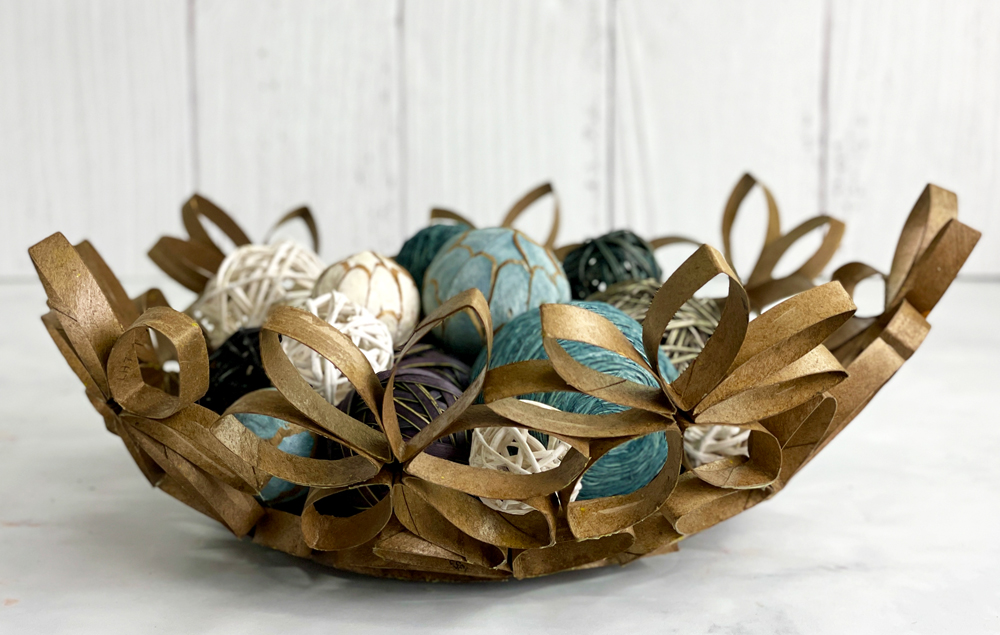
Who knew that an ordinary paper towel tube could create such a stunning piece of decor! Create pretty flowers from the tubes and glue them together to design a unique bowl...