
LET'S GET STARTED!

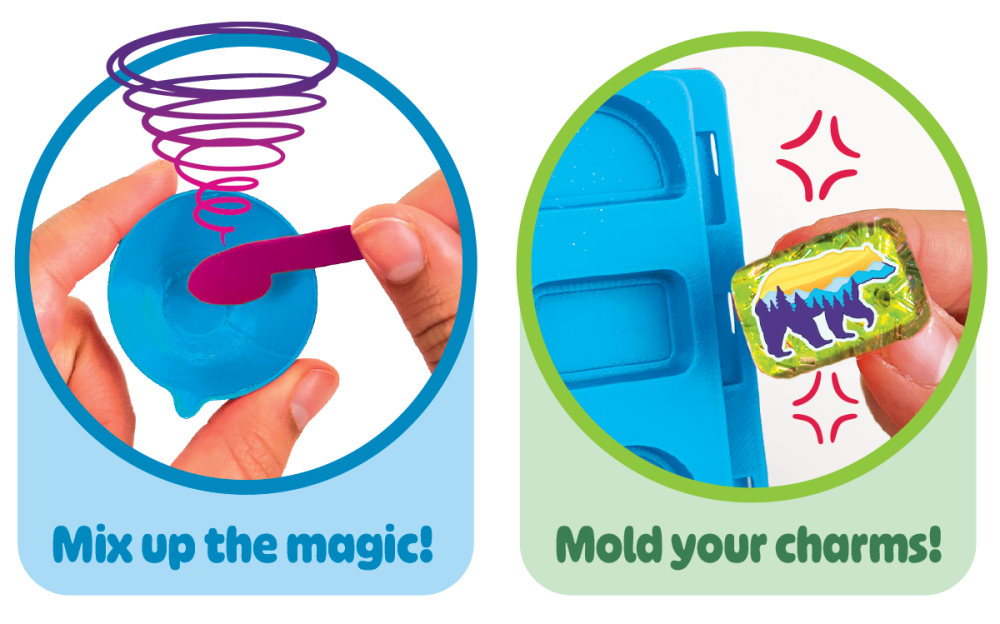
Ready to create? We recommend covering your workspace and wearing a smock or play clothes to avoid stains.
Watch the video below for step-by-steps!
LET'S GET STARTED!

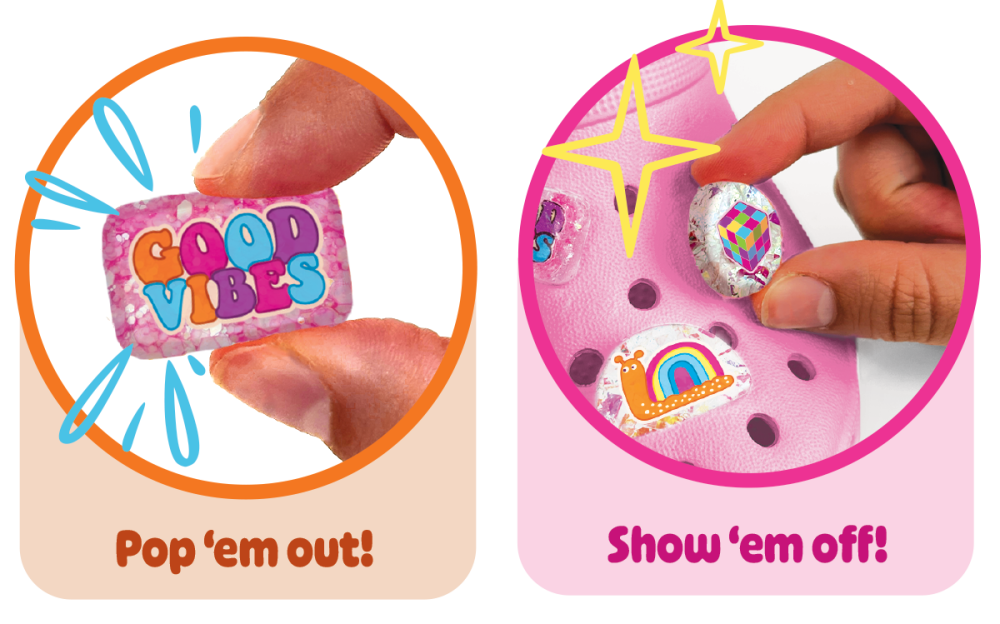
To remove your charm, gently slide the toothpick around the entire edge of the mold to break the seal.
Watch the video below for a demonstration!

When removing charms from bracelets, keychains, or shoes make sure to push on the post from the back instead of pulling on the charm. Pulling on the front could cause the charm to rip away from the post.
We recommend covering all work surfaces for easy cleanup. The easiest way to clean your tools is to wait for the jelly to dry and peel it right off! If you want to make more charms right away, you can clean your tools with a dry paper towel. Make sure not to pour uncured jelly down the drain.
Replace the safety seal on the bottle to prevent it from drying out. Store it upright in a room-temperature space.
When the charm cures in the mold, it creates a tight seal. Don’t pull on the post as it could tear out. Grab a toothpick and gently slide the tip between the mold and the charm. Slowly move it around the entire outside edge, watching as it pulls away from the side and releases the seal. Once fully released, lift the charm out gently.
Lightly touch the jelly in the mold with your finger. If it’s sticky or tacky, it may need more time to cure. Be careful with your measurements—if the correct ratio of A & B jelly was not followed, it may not cure properly. Note that cool temperatures below 70°F can also slow curing time.

LET'S GET STARTED!
Ready to create? We recommend covering your workspace and wearing a smock or play clothes to avoid stains.
Watch the video below for step-by-steps!
REMOVING YOUR CHARM!
To remove your charm, gently slide the toothpick around the entire edge of the mold to break the seal.
Watch the video below for a demonstration!
When removing charms from bracelets, keychains, or shoes make sure to push on the post from the back instead of pulling on the charm. Pulling on the front could cause the charm to rip away from the post.
We recommend covering all work surfaces for easy cleanup. The easiest way to clean your tools is to wait for the jelly to dry and peel it right off! If you want to make more charms right away, you can clean your tools with a dry paper towel. Make sure not to pour uncured jelly down the drain.
Replace the safety seal on the bottle to prevent it from drying out. Store it upright in a room-temperature space.
When the charm cures in the mold, it creates a tight seal. Don’t pull on the post as it could tear out. Grab a toothpick and gently slide the tip between the mold and the charm. Slowly move it around the entire outside edge, watching as it pulls away from the side and releases the seal. Once fully released, lift the charm out gently.
Lightly touch the jelly in the mold with your finger. If it’s sticky or tacky, it may need more time to cure. Be careful with your measurements—if the correct ratio of A & B jelly was not followed, it may not cure properly. Note that cool temperatures below 70°F can also slow curing time.